Introduction to Easy Challah Bread
What is challah and its significance?
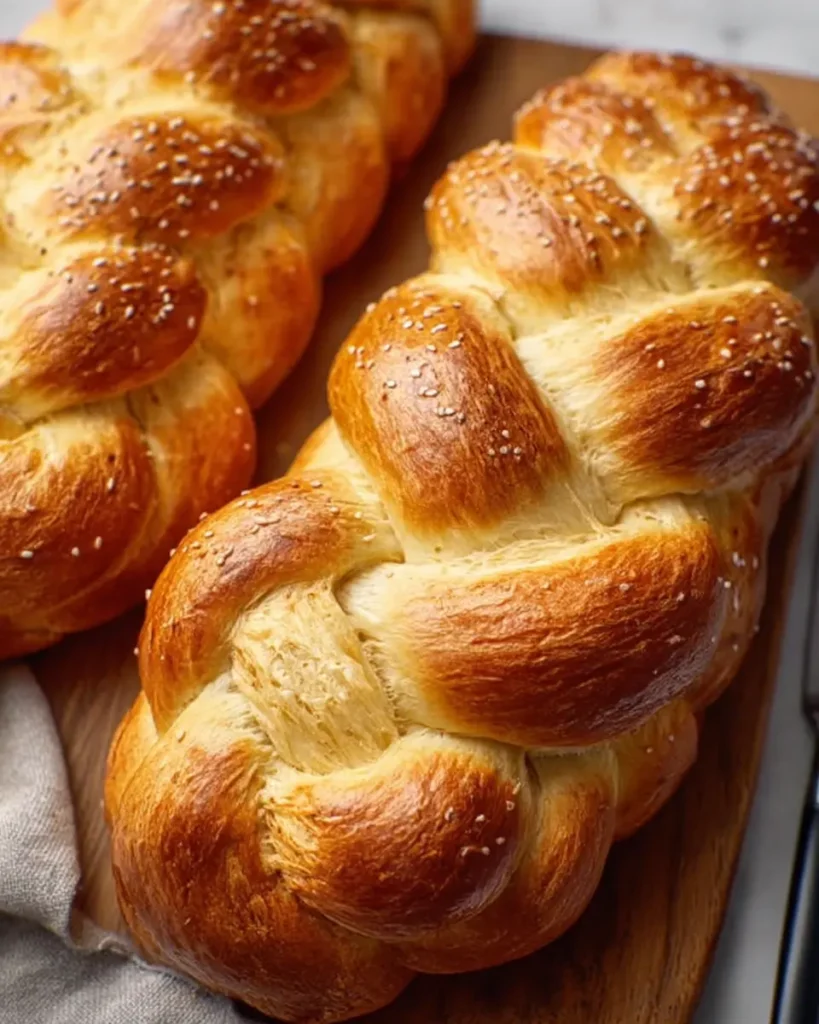
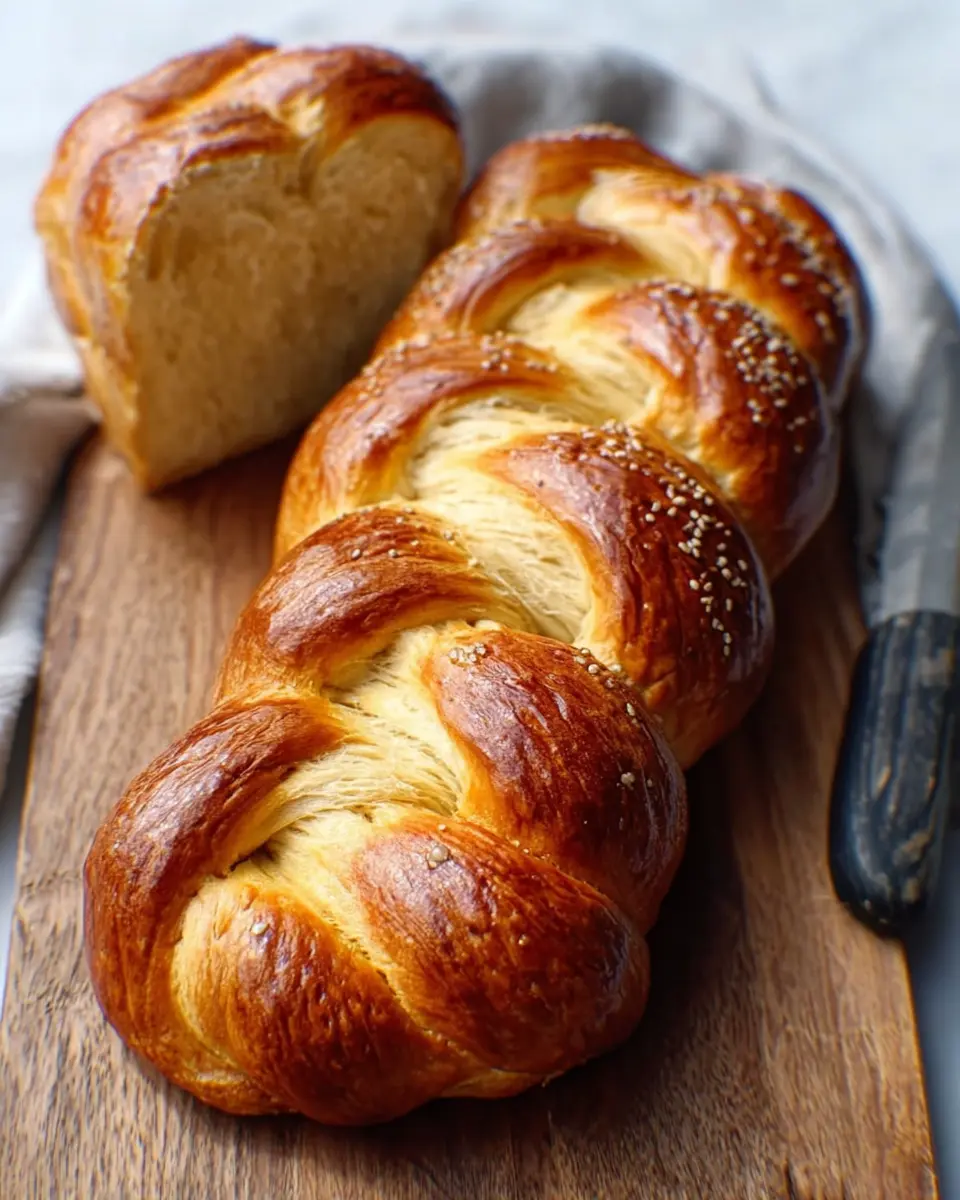
Challah is a braided bread with deep roots in Jewish culture, traditionally served during the Sabbath and festive occasions. Its sweet, rich flavor and beautiful, glossy appearance make it a cherished centerpiece at many dinners. Beyond its delicious taste, challah symbolizes unity and family—much like how its braided strands intertwine. When you pull apart a loaf, it feels like sharing a moment with loved ones, making each bite even more special.
For those interested in diving deeper into its cultural significance, resources like Chabad.org offer insights into the history and traditions surrounding challah.
Why make easy challah bread at home?
Making easy challah bread at home is a beautiful way to connect with these traditions while also indulging in your creativity. The process is surprisingly simple, even for those of us who might not consider ourselves “bakers.” Here are a few reasons to give it a try:
- Freshness: There’s nothing quite like the smell of freshly baked bread wafting through your kitchen.
- Customization: You can experiment with flavors and fillings, from honey and raisins to chocolate chips.
- Mindfulness: The act of kneading and shaping the dough can be therapeutic, offering a moment of peace in our busy lives.
Personal anecdote: My first challah-making experience
I remember my first attempt at making easy challah bread vividly; I was a bit nervous but excited. I had gathered all my ingredients, and the thought of creating something so special felt daunting. As I mixed the flour and yeast, I couldn’t help but wonder if I’d end up with a beautiful loaf or a kitchen disaster.
To my surprise, the dough transformed beautifully under my hands! Shaping the braids was a bit tricky, but I found that the more I practiced, the more fun it became. When my family tasted the bread, their smiles made every bit of effort worthwhile.
Baking challah is about more than just the final product; it’s about the stories we create along the way. So, if you haven’t tried it yet, now’s your chance to start your own challah journey!
Ingredients for Easy Challah Bread
Making easy challah bread at home can be a delightful experience, especially when you have the right ingredients. Here’s what you’ll need to whip up this beautiful, braided bread.
List of Required Ingredients
- 4 cups all-purpose flour
- 1 cup warm water (about 110°F)
- 1/4 cup sugar
- 1/4 cup vegetable oil
- 2 large eggs
- 1 packet active dry yeast (2 1/4 teaspoons)
- 1 teaspoon salt
- Egg wash (1 egg beaten with a splash of water)
Tips for Ingredient Quality
When it comes to crafting the perfect easy challah bread, ingredient quality matters! Here are a few pointers:
- Flour Type: Opt for high-quality all-purpose flour. Some bakers prefer bread flour for a chewier texture. Explore options like King Arthur Flour for consistent quality.
- Yeast: Use fresh, active dry yeast for the best rise. Check the expiration date on the packet—old yeast can lead to flat bread.
- Water Temperature: Ensure your water is warm but not hot; too hot can kill the yeast, and too cold can hinder rising.
With these simple ingredients and tips, you’ll be on your way to baking a delightful challah that’s perfect for gatherings or a cozy night in!
Preparing Easy Challah Bread
Baking your own easy challah bread can be an incredibly rewarding experience, especially if you’re looking to impress friends or family with your culinary skills. Not only does it fill your home with the delightful aroma of fresh bread, but it’s also surprisingly simple to make. Let’s dive into the steps involved in preparing this enriched dough, perfect for any occasion.
Combine Ingredients in a Stand Mixer
Start by gathering all your ingredients: flour, sugar, salt, yeast, eggs, and oil. It helps to have everything measured out beforehand so the process feels seamless. In your stand mixer bowl, combine:
- 4 cups of all-purpose flour
- 1/4 cup of sugar
- 1 tsp of salt
- 1 packet (about 2 ¼ tsp) of active dry yeast
Gradually add in 1 cup of warm water (about 110°F) and 1/4 cup of oil. With the dough hook attached, mix everything until just combined. If you are looking for more tips on bread-baking basics, consider checking the King Arthur Baking Company.
Knead Until Smooth and Elastic
Once your wet and dry ingredients are combined, it’s time to knead. Knead the dough on low speed for about 8-10 minutes. The dough should transition from a sticky mass to a smooth, elastic ball. This development of gluten is crucial in achieving that lovely chewy texture characteristic of challah.
First Rise: What to Look For
After kneading, remove the dough from the bowl and shape it into a ball. Place it in a greased bowl, cover with a clean kitchen towel, and let it rise in a warm environment for about 1-2 hours. You’re looking for the dough to double in size; this indicates that it’s rising beautifully and will yield a delicious challah.
Dividing the Dough for Braiding
When your dough has risen sufficiently, it’s time to prepare it for braiding. Gently punch the dough down to release some of the built-up gas. On a lightly floured surface, divide your dough into three equal pieces—the standard for a traditional braid. You might feel like a pro bread-baker at this point!
Braiding Technique Explained
Take each piece of dough and roll it into long strands, about 14 inches in length. Lay them side by side, pinch the tops together, and start your braid. The technique is simple:
- Cross the right strand over the center.
- Then, cross the left strand over the new center.
- Repeat this until you reach the end, pinching the strands together once more.
Trust me, it will look amazing, and people will be impressed by your skill!
Second Rise Before Baking
Now that you have your easy challah bread braided, cover it with the towel again and let it rise for another 30-45 minutes. This second rise is important because it allows the dough to puff up just before it hits the oven.
Prepping for the Oven with Egg Wash
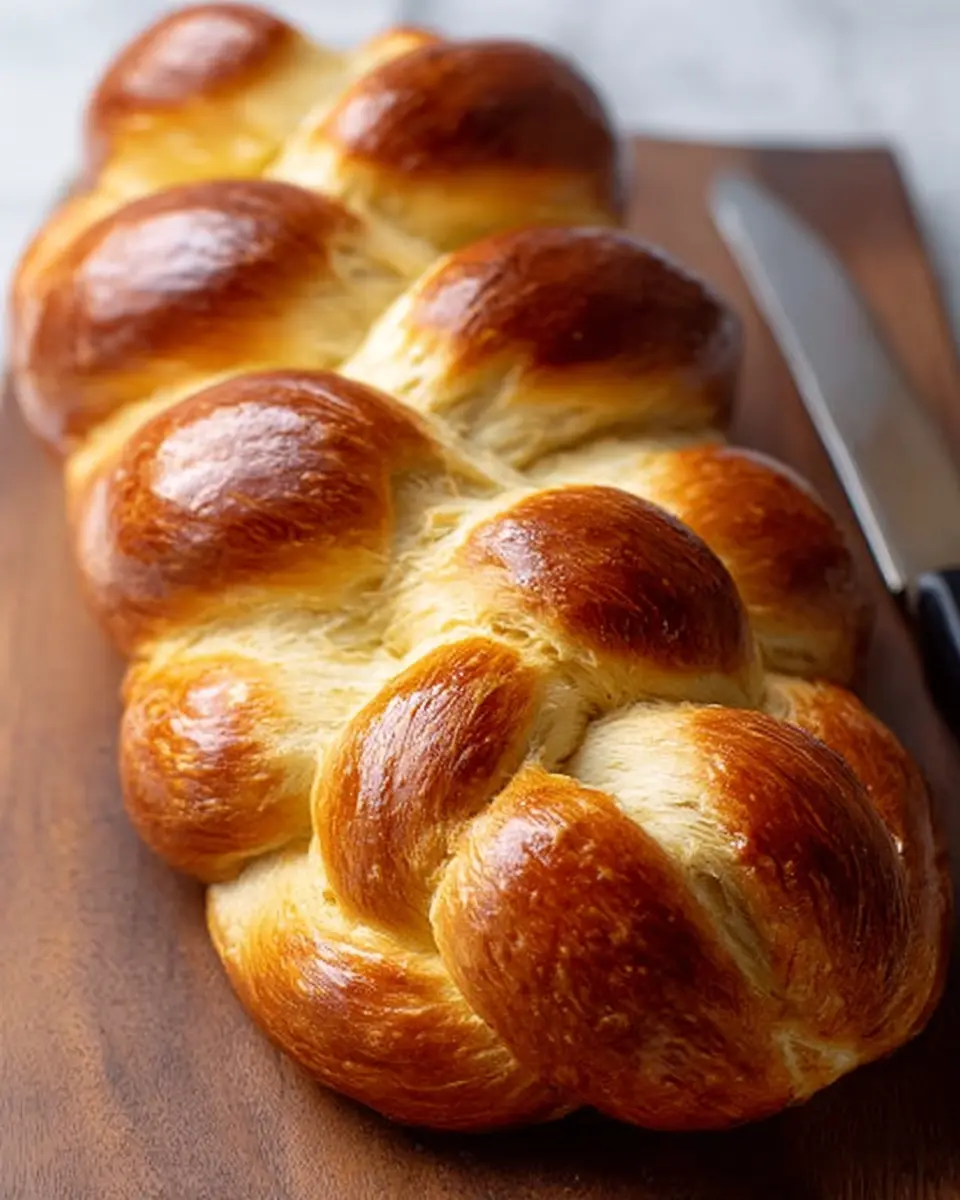
Before baking, preheat your oven to 350°F (175°C). For that beautiful golden-brown crust, prepare an egg wash by whisking one egg with a tablespoon of water or milk. Brush it over the top of your challah—feel free to sprinkle sesame or poppy seeds for an extra touch!
Bake Until Golden and Perfectly Cooked
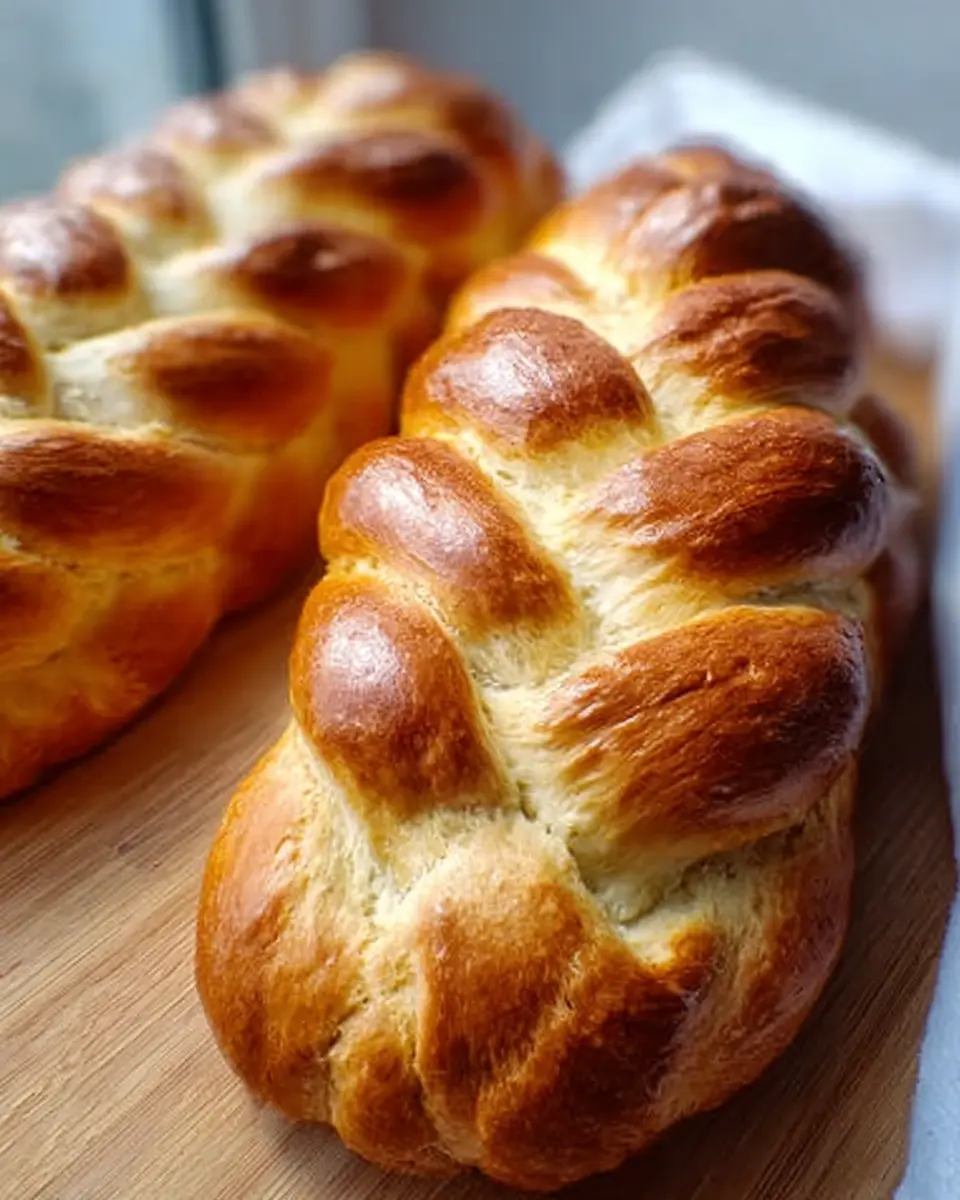
Finally, it’s showtime! Bake your challah in the preheated oven for about 25-30 minutes, or until you see that glorious golden color. If you tap the bottom of the loaf and it sounds hollow, it’s ready to come out! Let it cool on a wire rack before slicing.
And voilà! You’ve just created an inviting loaf of challah bread that’s perfect for sharing. From sandwiches to French toast, your creation will surely delight friends, family, and perhaps even a few welcome neighbors. Happy baking!
Variations on Easy Challah Bread
Challah bread is so versatile that you can easily customize it to fit your mood or dietary needs. Let’s explore some delicious variations that will make each loaf uniquely yours.
Sweet challah with cinnamon and sugar
If you have a sweet tooth, you’ll love this twist on easy challah bread. As the dough rises, mix together sugar and cinnamon. Once you’ve braided the dough, sprinkle this mixture generously on top before baking. This delightful topping caramelizes during baking, creating a sweet, crispy crust that makes your kitchen smell heavenly. You can also add raisins or chocolate chips into the dough for an even sweeter touch.
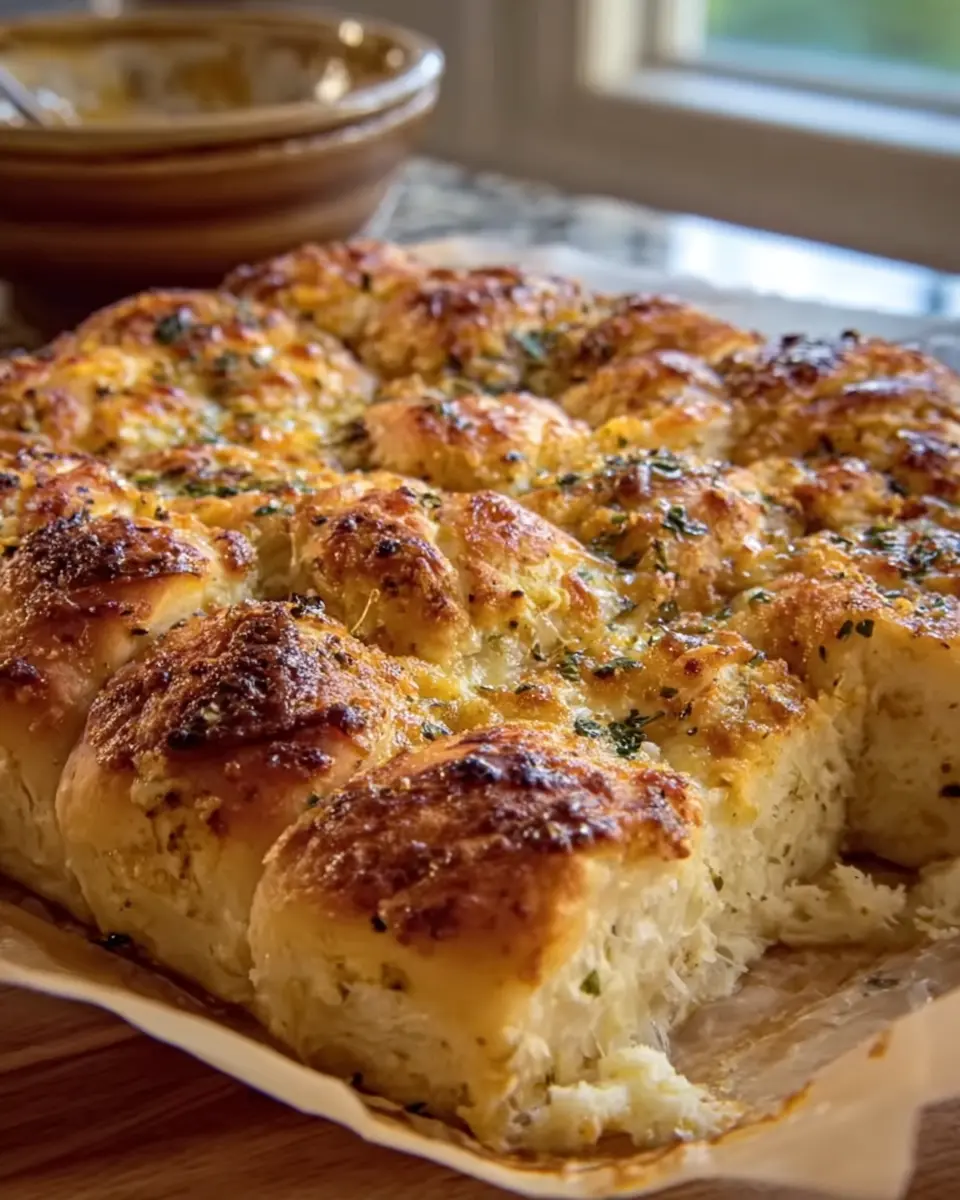
Savory options: Garlic and herb challah
Looking for something savory? Why not incorporate garlic and herbs into your easy challah bread? Simply blend minced garlic, olive oil, and your choice of fresh herbs—like rosemary and thyme—into the dough. This creates an aromatic loaf perfect for dipping in soups or spreading with herb-infused butter. I often serve this savory variation alongside a fresh salad for a hearty lunch.
Gluten-free challah alternatives
For those with gluten sensitivities, don’t worry! You can still enjoy this beloved bread. There are fantastic gluten-free flour blends available today that mimic the texture of traditional flour. Look for brands like Bob’s Red Mill or King Arthur Gluten-Free. Opt for a recipe specifically designed for gluten-free challah, or adapt your favorite easy challah bread recipe by substituting the all-purpose flour with these blends.
With these variations, challah bread can be whatever you need it to be. So go ahead, get creative! For more ideas and tips, check out expert sources like King Arthur Baking and America’s Test Kitchen.
Cooking notes and tips for Easy Challah Bread
Common mistakes to avoid
Making easy challah bread might sound simple, but there are a few pitfalls you can avoid to ensure perfect results. One major mistake is not kneading the dough enough. Aim for at least 8–10 minutes of kneading until the dough is smooth and elastic. Additionally, don’t rush the rise—allow it to double in size, which usually takes about an hour in a warm environment. Trust me, patience pays off!
How to know when your bread is done
Wondering if your challah is perfectly baked? You’ll know it’s done when it’s golden brown on top and sounds hollow when tapped on the bottom. For a more precise check, investing in an instant-read thermometer can be helpful; the internal temperature should reach around 190°F (88°C).
Storage tips for freshness
To keep your easy challah bread fresh, store it at room temperature in a sealed bag for up to three days, or freeze it for longer storage. When freezing, slice the bread first for easy access to those delicious pieces later. For more tips on bread storage, check out The Bread Guru.
By avoiding common mistakes, knowing the right baking cues, and utilizing proper storage methods, you’ll be set for a delightful easy challah bread experience every time!
Serving suggestions for Easy Challah Bread
Best ways to enjoy challah
When it comes to easy challah bread, its versatility makes it a delightful addition to any meal. Here are a few fantastic ways to savor this soft, eggy loaf:
- Toast: Start your day with a slice of toasted challah, topped with butter or your favorite nut butter for a perfect breakfast.
- Sandwiches: Use challah for gourmet sandwiches. Imagine delicious turkey bacon stacked with fresh veggies and a tangy spread; you’ll never look back!
- French Toast: This is a classic for a reason! Dip thick slices of challah in a mixture of eggs, milk, and a hint of vanilla, then pan-fry for an indulgent brunch.
Pairings: Spreads, jams, and more
Pairing your easy challah bread with the right accompaniments can elevate your culinary experience. Consider:
- Spreads: Cream cheese or hummus can bring a savory touch to your slices.
- Jams and fruit preserves: Sweet options like strawberry or apricot jam can perfectly complement the bread’s flavor.
- Savory toppings: Think roasted vegetables or chicken ham for a heartier approach.
Why not experiment with your favorite combinations? You might just discover your new go-to! For more ideas, check out BBC Good Food or The Kitchn.
Time breakdown for Easy Challah Bread
Preparation time
Making your own easy challah bread starts with about 15-20 minutes of preparation. This time covers gathering your ingredients, mixing them together, and kneading the dough until it becomes smooth and elastic.
Rising time
The real magic happens during the rising phase, which typically takes around 1-2 hours. This waiting period allows the dough to double in size, giving you that perfect, fluffy texture. If you’re feeling ambitious, consider a cold rise in the fridge overnight for added flavor!
Baking time
Once the dough has risen, baking takes about 30-35 minutes at 350°F (175°C). You’ll know it’s ready when the crust turns a beautiful golden brown and emits that irresistible aroma.
Total time
In total, you’re looking at about 2-3 hours for this delightful homemade bread—perfect for a relaxed weekend project or to impress guests at your next dinner party.
For more insights on bread-making times, check out this resource from King Arthur Baking.
Nutritional facts for Easy Challah Bread
Calories per slice
When it comes to easy challah bread, knowing the caloric content can help you enjoy it guilt-free. Each slice typically contains around 120-160 calories. This makes it a delightful addition to your breakfast or dinner table without derailing your dietary goals.
Protein content
One of the benefits of this lovely bread is its protein content; each slice packs about 4 grams of protein. Pair it with some turkey bacon or chicken ham, and you’ll have a balanced meal that keeps you satisfied.
Tips for adjusting nutritional values
If you’re looking to modify the nutritional profile of your easy challah bread, consider these tips:
- Substituting Ingredients: Try whole wheat flour instead of all-purpose for added fiber.
- Reducing Sugar: Don’t be afraid to cut back on sugar while maintaining taste.
- Add Seeds or Nuts: Incorporating chia seeds or walnuts can boost nutritional value without compromising the flavor.
For more healthy baking tips, check out sites like Healthline and The Kitchn. By making simple adjustments, you can enjoy this classic bread while aligning it with your nutritional needs. Happy baking!
FAQs about Easy Challah Bread
Can I use active dry yeast instead of instant yeast?
Absolutely! You can substitute active dry yeast for instant yeast in this easy challah bread recipe. Just remember that active dry yeast requires a little extra time to become fully active. To use it, dissolve the yeast in warm water along with a pinch of sugar, and let it sit for about 5–10 minutes until bubbly. Then, simply mix it in with your other ingredients as you would with instant yeast. For more tips on yeast types, consider checking out King Arthur Baking.
How do I store leftover challah?
Storing leftover challah properly is key to enjoying it later! Wrap it in plastic wrap or aluminum foil and keep it at room temperature for 2–3 days. For longer storage, consider freezing it. Slice it before wrapping; this way, you can take out individual pieces as needed. Thaw the slices at room temperature or pop them in the toaster for a quick warm-up!
What are the best ways to use stale challah?
Don’t throw away that stale challah! It can transform into delicious dishes. Here are some ideas:
- French Toast: Stale challah is ideal for making rich, fluffy French toast. The thicker texture soaks up the egg mixture perfectly.
- Bread Pudding: Use it to whip up a comforting bread pudding that’s perfect for dessert.
- Croutons: Cut it into cubes, toss with olive oil and seasonings, and bake for crunchy, homemade croutons.
Even stale, this easy challah bread can be a culinary star! If you’re searching for more creative ideas, try exploring food blogs like Tastes Better From Scratch.
Incorporating these tips and tricks will ensure your easy challah bread remains remarkable long after you’ve baked it!
Conclusion on Easy Challah Bread
Recap of Why Homemade is Better
Making your own easy challah bread at home surpasses store-bought versions for several reasons. It’s fresher, allowing you to customize the flavors and textures to your liking. Plus, there’s something incredibly satisfying about the process; kneading dough can be a surprisingly therapeutic experience! Studies show that cooking from scratch boosts your mood and overall well-being, so you get a delicious bread and a lovely sense of accomplishment in one go.
Encouragement to Try Making Challah at Home
So why not give it a shot? Baking easy challah bread is an excellent opportunity to explore your culinary skills and impress friends at your next gathering. Remember, practice makes perfect—your first loaf may not be Instagram-ready, but each attempt will bring you closer to perfection. Plus, you can enjoy the delightful aroma filling your kitchen! For tips and tricks, consider visiting King Arthur Baking for more inspiration. Happy baking!
Print
Easy Challah Bread Recipe: Delightfully Soft and Homemade
- Prep Time: 20 minutes
- Cook Time: 30 minutes
- Total Time: 1 hour 50 minutes
- Yield: 1 loaf 1x
- Category: Bread
- Method: Baking
- Cuisine: Jewish
- Diet: Vegetarian
Description
A simple and delicious recipe for homemade Challah bread that is perfect for any occasion.
Ingredients
- 4 cups all-purpose flour
- 1 cup warm water
- 1/4 cup sugar
- 1 tablespoon active dry yeast
- 1/4 cup vegetable oil
- 1 teaspoon salt
- 2 large eggs
- 1 egg (for egg wash)
Instructions
- In a bowl, combine warm water, sugar, and yeast. Let sit until foamy.
- Add the flour, oil, salt, and eggs to the mixture.
- Knead the dough on a floured surface until smooth, about 10 minutes.
- Place the dough in a greased bowl, cover, and let rise until doubled, about 1 hour.
- Punch down the dough and divide it into three equal pieces.
- Braid the pieces together and place on a baking sheet.
- Cover and let rise for another 30 minutes.
- Preheat oven to 350°F (175°C).
- Brush the braid with beaten egg.
- Bake for 25-30 minutes until golden brown.
- Let cool before slicing.
Notes
- Ensure the water is not too hot when activating the yeast.
- Use a kitchen scale for precise measurements if possible.
Nutrition
- Serving Size: 1 slice
- Calories: 150
- Sugar: 2g
- Sodium: 170mg
- Fat: 5g
- Saturated Fat: 1g
- Unsaturated Fat: 4g
- Trans Fat: 0g
- Carbohydrates: 24g
- Fiber: 1g
- Protein: 4g
- Cholesterol: 20mg
Keywords: Easy Challah Bread