Introduction to Homemade Bread
Why delve into making your own bread?
Homemade bread isn’t just about the joy of baking; it’s a delightful dive into a world of warmth, flavor, and satisfaction. Imagine the rich aroma as the dough rises in your kitchen, calling you to partake in a centuries-old tradition that has been cherished around dinner tables worldwide.
The Benefits of Baking Your Own Bread
When you begin your bread-making journey, you’re not just crafting a loaf; you’re embracing several advantages:
- Control Over Ingredients: By opting for a homemade bread recipe, you can tailor the ingredients to suit your dietary preferences. Whole grains? No preservatives? Vegan? The choice is yours.
- Cost-Effectiveness: While store-bought bread can add up, making your own can save you money in the long run, especially if you bake in batches. Think about all those artisan loaves sold at a premium price!
- Healthier Options: You have the power to eliminate additives and excessive sugars, allowing you to create a nutritious base for endless meal possibilities, like sandwiches filled with turkey bacon or chicken ham.
Is Baking Right for You?
Some of you might be asking, “Do I really have time for this?” Well, let me reassure you that the process is not as daunting as it seems. Once you grasp the basics, it can become a soothing routine, a way to unwind after a busy day. With just a few moments spent mixing and kneading, you’ll find that you can whip up something delicious that’s far superior to anything on supermarket shelves.
One of the best parts of making homemade bread is sharing it with others. Whether you are hosting friends for brunch or looking for a special souvenir for a potluck, nothing says ‘you care’ quite like a fresh-baked loaf. If you’re new to this experience, I highly recommend checking out resources like King Arthur Baking for tips and inspiration.
So, roll up those sleeves and get ready to explore the art of bread-making. You might just find that the process brings warmth and joy not only to your kitchen but also to your heart. Dive into the world of homemade bread with our delicious bread recipe!
Ingredients for Homemade Bread
Essential components for a perfect loaf
Making your own bread at home is not just a rewarding experience; it’s also a great way to enjoy fresh, delicious flavors. Here are the essential components you’ll need for your perfect bread recipe:
-
Flour: All-purpose or bread flour works best. It provides the necessary protein that develops gluten, giving your bread that lovely structure and texture.
-
Water: The main liquid in bread-making. Use warm water (around 110°F) to activate the yeast effectively.
-
Yeast: Active dry or instant yeast will help your bread rise. Just a small amount goes a long way, making it an economical choice!
-
Salt: This is crucial for flavor and also plays a role in controlling yeast activity.
-
Sugar: A bit of sugar sweetens your loaf and gives yeast something to feed on, promoting a good rise.
Optional ingredients include olive oil for moisture, herbs for flavor, and seeded toppings for added crunch. Want to dive deeper into the nuances of these ingredients? Check out this bread-making guide for more insights!
Embrace the process and enjoy the delightful aroma that fills your kitchen as your homemade bread bakes. What aromas remind you of home?
Step-by-Step Preparation of Homemade Bread
Crafting homemade bread can be an incredibly rewarding experience. The smell of bread baking in your kitchen is nothing short of heavenly, and the satisfaction of slicing into your creation is second to none. Here, I will guide you through the steps to create a delightful loaf, ensuring that your bread recipe is a hit every time you make it.
Gather Your Ingredients
Before you embark on your bread-making adventure, make sure you have all your ingredients ready:
- Flour: All-purpose flour works wonderfully, but you can experiment with bread flour for extra chewiness.
- Yeast: Active dry yeast is preferable for home recipes.
- Water: Use lukewarm water to activate the yeast.
- Sugar: A touch of sugar helps feed the yeast.
- Salt: This enhances flavor and controls yeast activity.
- Oil: A bit of olive oil or melted butter adds richness to your bread.
Make sure to check out resources like Bob’s Red Mill for high-quality ingredients that can elevate your homemade goods.
Activate the Yeast
Start by sprinkling your yeast over the lukewarm water (around 110°F/43°C) in a small bowl. Add a pinch of sugar to the mix and wait for about 5-10 minutes. You know it’s ready when it becomes frothy. This step is crucial; without activating the yeast, your bread might turn out dense or even flat.
Combine Dry Ingredients
In a large mixing bowl, whisk together your flour, salt, and any additional dry ingredients like herbs or seeds. Incorporating this step ensures that the salt is evenly distributed, which is vital for flavor and texture.
Incorporate Wet Ingredients
Once your yeast has bubbled up, add it to the dry ingredients along with your oil. Mix everything together until a shaggy dough forms. Don’t worry if it seems a bit sticky; it will come together during the kneading phase.
Knead the Dough
Turn your dough out onto a lightly floured surface. This is where the magic happens! Knead the dough for about 8-10 minutes. You’re aiming for a smooth, elastic texture. If you’ve never kneaded dough before, think of it as a workout for your hands.
First Rise
Place your kneaded dough into a lightly greased bowl, cover it with a clean kitchen towel or plastic wrap, and let it rise in a warm environment for about 1-2 hours, or until it has doubled in size. This is the perfect time to relax or prep your favorite toppings.
Shape the Dough
Once risen, punch down the dough gently to expel the air. Transfer it to a floured surface and shape it into your preferred loaf or rolls. Don’t worry about making it perfect—every loaf has its own character!
Second Rise
Now, place your shaped dough onto a baking sheet or into a loaf pan. Cover it again and let it rise for another 30-60 minutes, until it has swollen again. This second rise not only gives your bread a nice texture but also helps it hold its shape as it bakes.
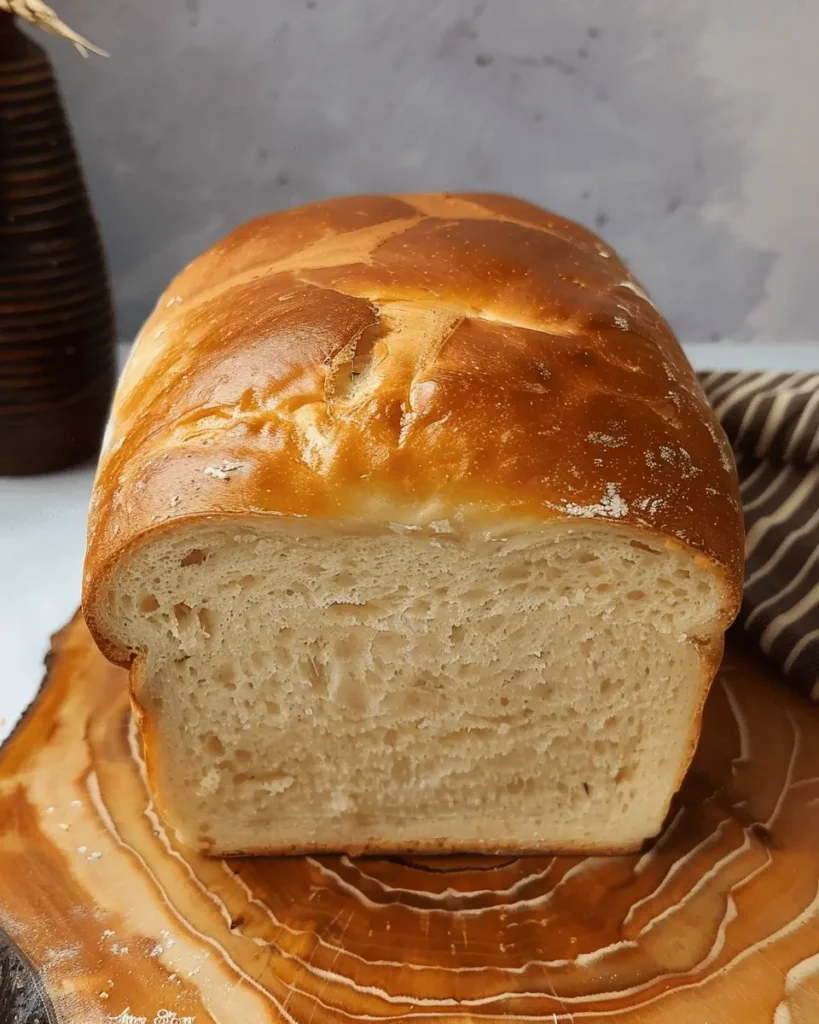
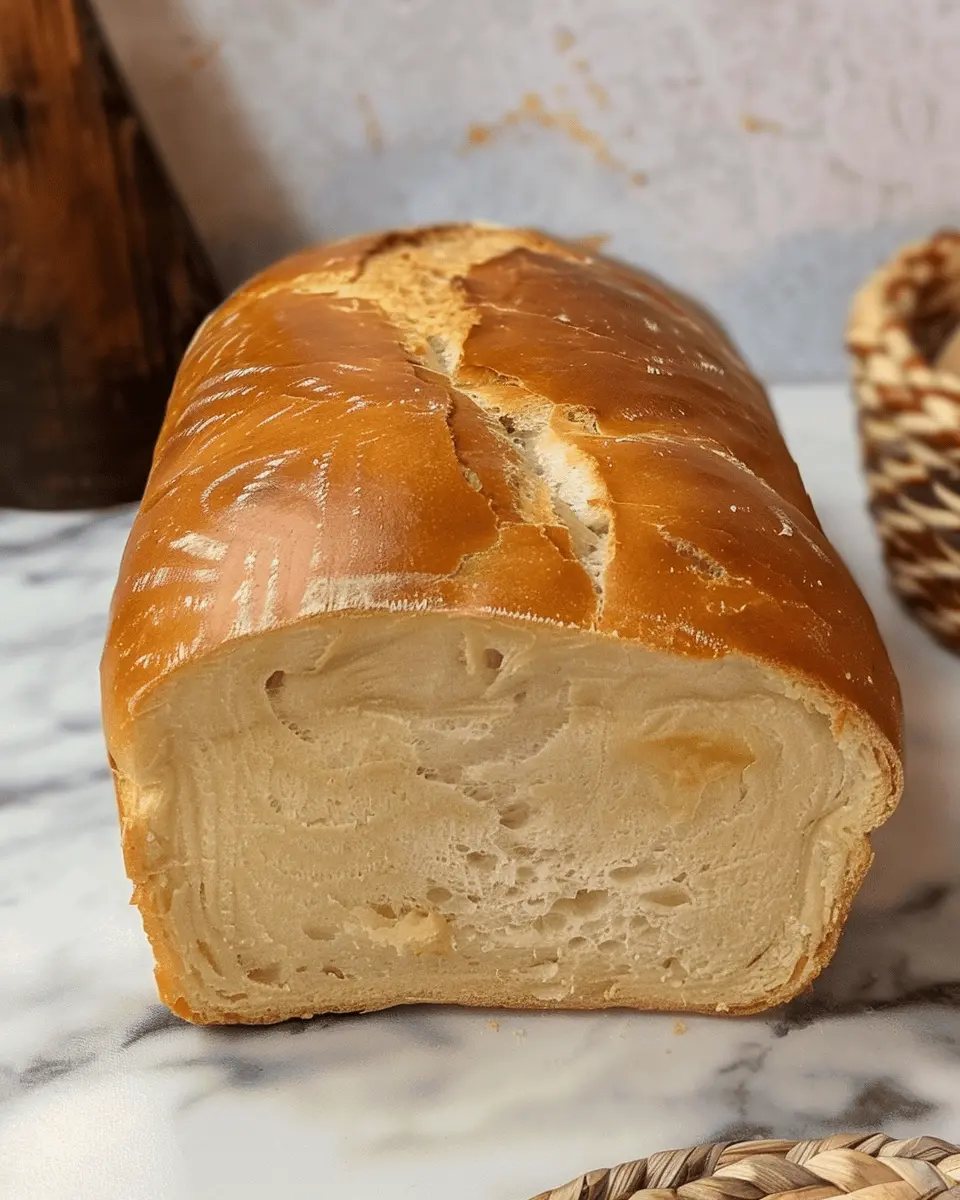
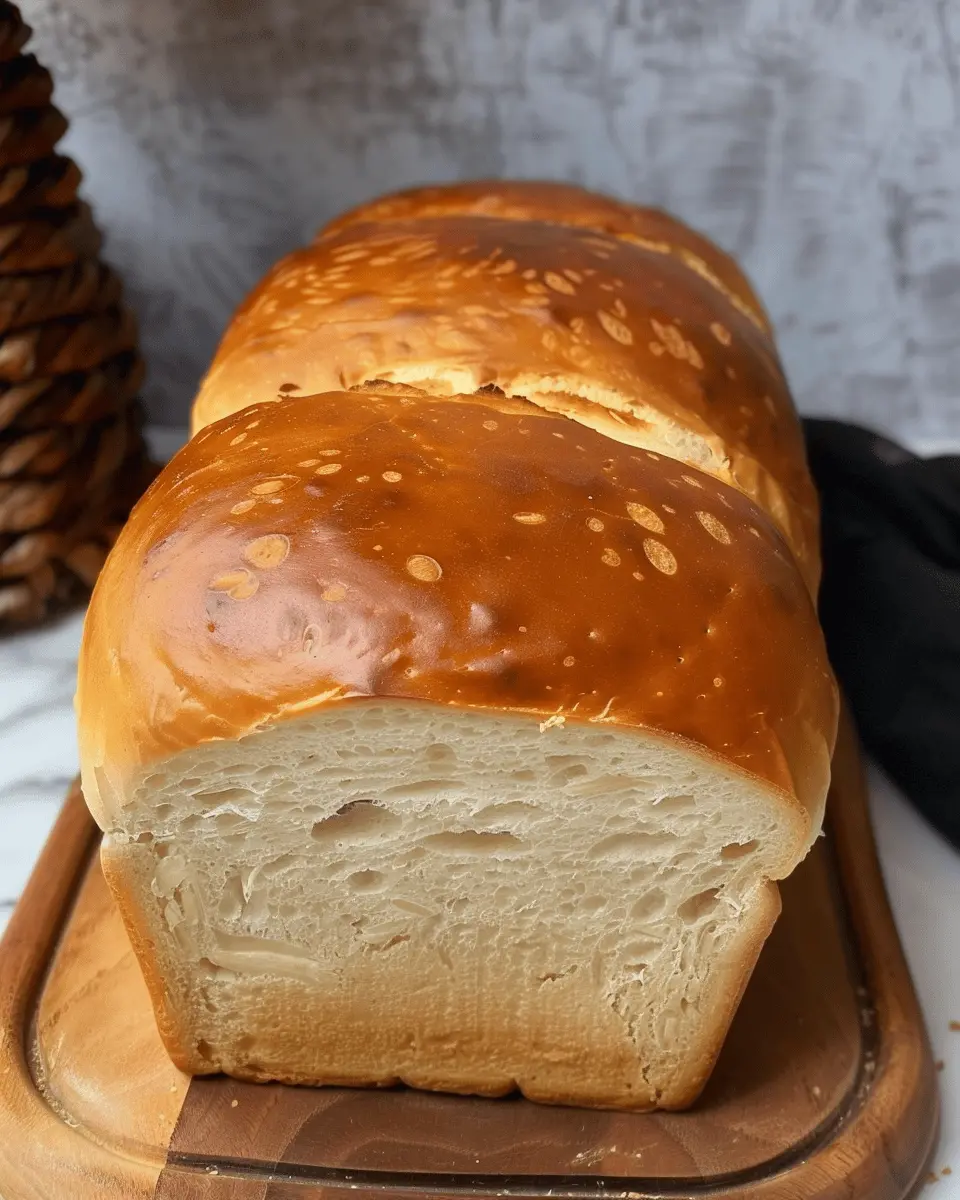
Bake the Bread
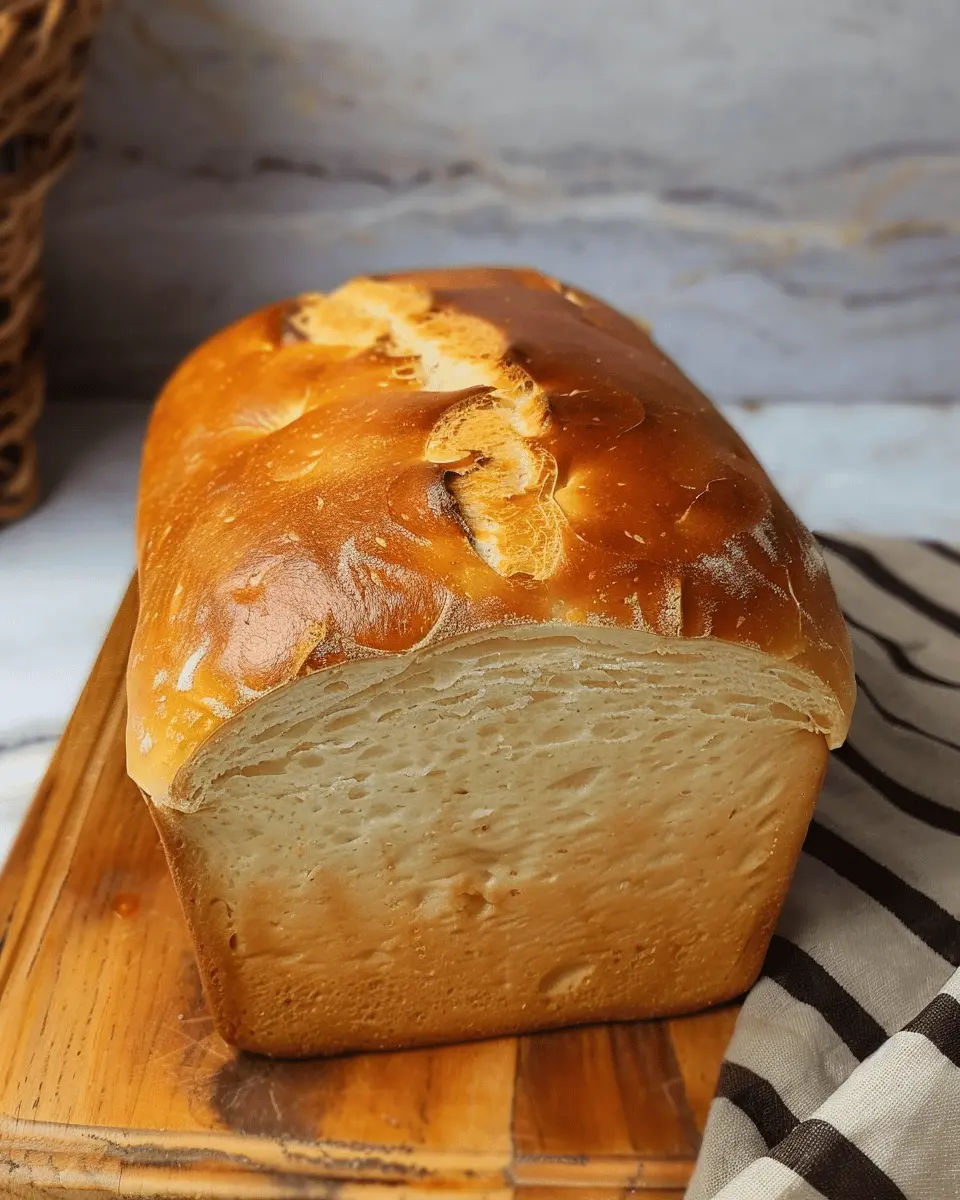
Preheat your oven to 375°F (190°C) while your dough rises. Once ready, pop your bread in and bake for 25-30 minutes, or until it’s golden brown and sounds hollow when tapped on the bottom. The aroma will fill your home, making it hard to wait for that first slice!
In conclusion, making homemade bread is an art as much as it is a science. Each step, from activating the yeast to that glorious oven moment, contributes to the final product. Feel free to experiment with this bread recipe, adjusting it to your flavors and preferences. Who knows? You might just create your signature loaf! For ideas on variations, consider checking out King Arthur Baking for great insights on flavors and techniques. Happy baking!
Variations on Homemade Bread
Whole Grain Bread
If you’re looking for a nutritious twist on your classic bread recipe, whole grain bread is a fantastic option. Packed with fiber and essential nutrients, it provides a hearty texture and gives you a good energy boost. To make it, simply substitute a portion of your all-purpose flour with whole wheat flour or even try spelt for a unique flavor. Many experts, including the Whole Grains Council, advocate for incorporating whole grains in your meals for better health.
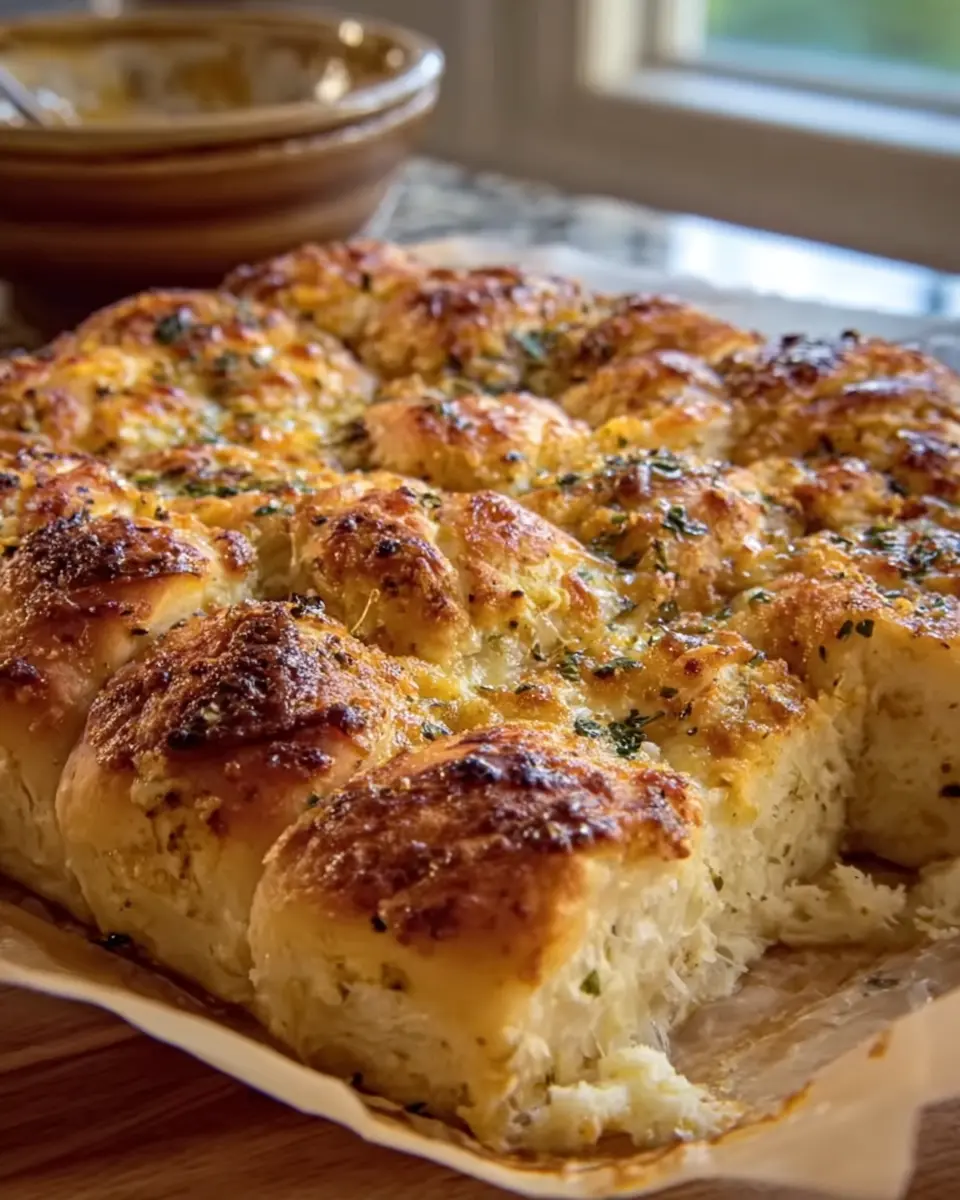
Herb-Infused Creations
If you’re a fan of fresh flavors, consider infusing your homemade bread with herbs. Think of using rosemary, thyme, or even basil! A simple trick is to mix chopped herbs directly into your dough or sprinkle them on top before baking. Not only do herbs elevate the taste, but they also add an aromatic twist that fills your kitchen with a delightful fragrance. It’s a great way to impress guests or simply treat yourself on a cozy evening.
Sweet Bread Options
Who says bread can’t be sweet? If you’re in the mood for a treat, consider making a sweet bread like banana or cinnamon-raisin. You can use ripe bananas for natural sweetness or sprinkle some cinnamon sugar on top for an extra kick. Don’t forget to pair your sweet loaf with a cup of herbal tea or even a glass of milk for a cozy afternoon snack. This New York Times article discusses the resurgence of sweet breads and their versatile applications in modern baking.
With these variations, your bread baking adventure will not only be fun but also truly unique! Which version will you try first?
Essential Cooking Tips and Notes for Homemade Bread
The Importance of Ingredient Temperature
When following your bread recipe, don’t overlook the importance of ingredient temperature. The yeast in your dough thrives in warmth, so aim for water around 100°F to 110°F when activating it. Too hot, and you risk killing the yeast; too cold, and it won’t bloom properly. Room temperature flour and other ingredients enhance the mixing process, resulting in a more consistent dough and a fluffier loaf. For some fascinating tips on ingredient temperatures, check out Baker’s Journal.
Avoiding Common Bread-Making Pitfalls
Every novice baker has faced a few mishaps along the way. Here are some tips to help you avoid those common pitfalls:
- Knead Right: Under-kneading results in a dense loaf, while over-kneading can make it tough. A good rule of thumb is to knead until the dough is smooth and elastic.
- Don’t Rush Rising: Allow your dough to rise in a warm, draft-free area. Patience is key to achieving that lovely airy texture.
- Measure Accurately: Always use a scale for precise measurements – it makes a world of difference in your final product.
Remember, making bread should be fun, so don’t be afraid to experiment! Each loaf is a little adventure waiting to happen.
Serving Suggestions for Homemade Bread
Perfect pairings to enhance your bread experience
Freshly baked bread can truly elevate any meal or snack time. Here are some delicious pairings to consider that will complement your homemade bread recipe beautifully:
-
Spreads and Dips: Start with a classic! Whipped butter, garlic herb spread, or even a zesty hummus can add excitement. For a twist, try avocado spread or a tangy cream cheese blend with fresh herbs.
-
Savory Options: Layer your bread with Turkey Bacon or Chicken Ham, adding a slice of your favorite cheese. The combination of savory flavors and the warm bread creates a delightful mouthfeel. A touch of mustard can add a spicy kick!
-
Sweet Touches: If you’re leaning toward sweetness, consider homemade jam or honey. It’s a fantastic complement to warm bread, perfect for breakfast or a light dessert.
-
Soups and Stews: Pair your bread with a hearty soup or stew for a cozy meal. Bread makes for a great sidekick for dishes like classic tomato soup or beef stew.
Feel free to explore these combinations or even mix and match! Bread’s versatility is truly endless; don’t hesitate to experiment and find your favorites.
For more inspiration, check out resources like Food Network or Serious Eats.
Time Breakdown for Homemade Bread
When you embark on your bread recipe adventure, understanding the time commitment is essential. Here’s a quick breakdown to help you plan your baking day effectively.
Preparation Time
Getting started with your ingredients will take about 15 minutes. Measure, mix, and knead your dough, and you’ll be on your way to that heavenly aroma of freshly baked bread.
Rising Time
The most rewarding part! Allow your dough to rise for approximately 1 to 2 hours. This step is crucial as it develops the gluten, contributing to the texture and flavor of your bread. Remember, patience is key!
Baking Time
Once your dough has risen perfectly, it’s time to bake. Expect to spend about 25 to 30 minutes in the oven. The result? A golden crust that you can’t resist.
Total Time
In total, you’re looking at around 2 to 3 hours. Most of this time is inactive while your dough is rising, making it a great opportunity to unwind or catch up on other tasks. If you’re curious about the benefits of making your own bread, check out this resource on bread-making.
With this handy time breakdown, you’re well-equipped to start your bread recipe journey with confidence!
Nutritional Facts for Homemade Bread
When diving into the world of baking with this bread recipe, understanding the nutritional profile can enhance your culinary experience and help you make informed choices.
Calories per serving
Homemade bread typically contains around 100-150 calories per slice, depending on the ingredients used, such as whole grains or added seeds. This makes it a satisfying and light option for various meals or snacks.
Macronutrient breakdown
A single slice usually includes:
- Carbohydrates: 20-30g
- Protein: 3-5g
- Fat: 1-2g
The combination of these nutrients provides a balanced source of energy that keeps you fueled throughout the day.
Fiber content
One of the highlights of a homemade bread recipe is its potential fiber content. Most whole-grain breads offer about 2-4g of fiber per slice. Fiber is essential for digestive health and can help maintain stable blood sugar levels. For more insights on the benefits of dietary fiber, check out resources from the Harvard T.H. Chan School of Public Health.
By knowing these key nutritional facts, you can enjoy your homemade bread without guilt and perhaps feel inspired to experiment with various flours and add-ins for an even healthier option. So, what toppings will you choose to enhance your bread experience?
FAQs about Homemade Bread
Making bread at home is both rewarding and delicious, but it can come with a few hiccups. Let’s tackle some common questions to help you on your baking journey.
Why does my bread not rise?
If you’ve followed the bread recipe but your dough seems stubborn, it’s often due to a few key factors:
- Yeast Issues: Dead yeast is a primary culprit. Always check the expiration date and ensure you activate it properly, usually with warm water (around 110°F).
- Temperature: Dough needs warmth to rise. If your kitchen is too cool, consider placing your bowl in a warmer spot or using a proofing box.
- Humidity Levels: Dry air can affect how the dough reacts. On drier days, you may need to tweak the amount of water you use.
Can I substitute ingredients in the bread recipe?
Absolutely! Experimenting with ingredients can lead to delightful variations. Here are some common substitutions:
- Flour: Whole wheat flour can replace all-purpose flour for a healthier loaf, though you may need to adjust the hydration.
- Sweeteners: Honey or maple syrup can swap in for sugar, adding a unique flavor.
- Fats: If you’re out of butter, try olive oil or coconut oil.
You can find more creative substitution ideas from King Arthur Baking.
How should I store homemade bread for freshness?
To maintain that fresh-baked goodness, store your bread properly:
- Room Temperature: Keep it in a cool, dry place wrapped in a bread bag or a towel for up to three days.
- Freezing: For longer storage, slice your bread and freeze it in an airtight bag. It can last for up to three months.
By following these tips, your homemade bread can be just as delightful on day three as it is on day one, allowing you to savor your creation longer!
Conclusion on Homemade Bread
Recap and encouragement to bake!
Homemade bread is not just a delicious addition to any meal; it represents a unique experience potential for you. By following this bread recipe, you’ve not only learned valuable baking skills but also created something truly satisfying. Remember, kneading and rising can feel a bit like a workout, but the aroma of fresh bread is worth every effort!
If you haven’t tried baking yet, what are you waiting for? It’s a therapeutic process that can turn your kitchen into a warm, inviting haven. So, gather your ingredients and let’s make some magic! Need a nudge? Check out resources like King Arthur Baking for tips and tricks to elevate your bread-baking game!
Print
Bread recipe: The Best Homemade Loaf You’ll Love to Share
- Prep Time: 15 minutes
- Cook Time: 35 minutes
- Total Time: 1 hour 50 minutes
- Yield: 1 loaf 1x
- Category: Baking
- Method: Baking
- Cuisine: American
- Diet: Vegetarian
Description
Learn how to make the best homemade bread loaf that will impress your friends and family.
Ingredients
- 3 cups all-purpose flour
- 1 tablespoon sugar
- 1 teaspoon salt
- 1 packet active dry yeast
- 1 1/4 cups warm water
Instructions
- In a large bowl, combine warm water, yeast, and sugar. Let it sit for 5 minutes until frothy.
- Add flour and salt to the yeast mixture, stirring until a dough forms.
- Knead the dough on a floured surface for about 10 minutes.
- Place the dough in a greased bowl, cover, and let it rise for 1 hour.
- Preheat the oven to 375°F (190°C).
- Punch down the risen dough and form it into a loaf shape.
- Place the loaf in a greased bread pan and let it rise for another 30 minutes.
- Bake for 30-35 minutes or until golden brown.
- Let it cool before slicing.
Notes
- For a richer flavor, add 2 tablespoons of olive oil to the dough.
- Try adding herbs or cheese for a different twist.
Nutrition
- Serving Size: 1 slice
- Calories: 120
- Sugar: 1g
- Sodium: 200mg
- Fat: 1g
- Saturated Fat: 0g
- Unsaturated Fat: 0.5g
- Trans Fat: 0g
- Carbohydrates: 24g
- Fiber: 1g
- Protein: 4g
- Cholesterol: 0mg
Keywords: Bread Recipe