Introduction to Cherries in the Snow
When you think of desserts that evoke warmth and delight, Cherries in the Snow should be at the top of your list. This beautiful dessert is not only a feast for the eyes, but it also tantalizes your taste buds with its unique combination of flavors and textures. If you’re looking to impress friends at a gathering or simply want to treat yourself after a long week, this dish is your perfect go-to recipe.
Why Cherries in the Snow is a Must-Try Dessert
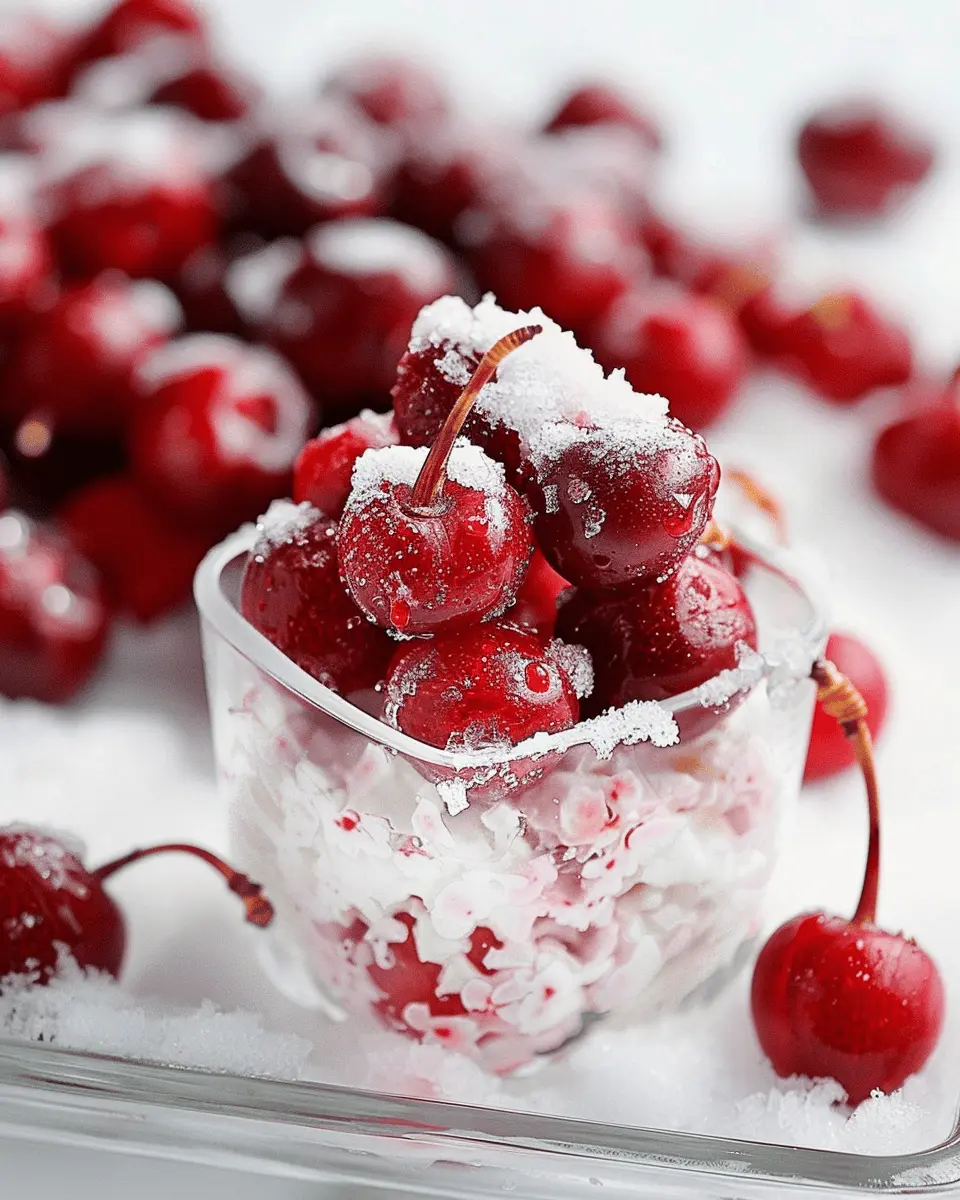
Imagine a fluffy, cloud-like base topped with a vibrant cherry sauce that brings both sweetness and a hint of tartness to the plate—Cherries in the Snow encapsulates all of this and more. Known for its lightness and refreshing flavor profile, this dessert is ideal for any occasion, whether it’s a summer picnic or a cozy winter dinner party.
-
Simplicity: One of the best aspects of this dessert is how easy it is to prepare. With just a few ingredients, you can create a stunning creation that looks as good as it tastes. Many recipes require minimal cooking time, allowing you to focus less on the stove and more on enjoying your time with loved ones.
-
Nutritional Perks: Cherries are not just delicious; they’re also packed with antioxidants. According to the U.S. Department of Agriculture, cherries can help reduce inflammation and improve your overall health when consumed in moderation. So, not only will you be indulging your sweet tooth, but you’ll also be incorporating some healthier elements into your diet!
-
Versatility: Before you start preparing Cherries in the Snow, consider how versatile it can be. You can swap ingredients based on seasonal fruits, or adjust the sweetness to accommodate your taste preferences. For instance, adding a layer of whipped cream on top can provide a richer flavor and texture contrast.
Incorporating Cherries in the Snow into your dessert repertoire will not only elevate your culinary skills but also create lasting memories with friends and family. So, are you ready to dive into this delightful recipe and bring a bit of sweetness to your next gathering?

Ingredients for Cherries in the Snow
When it comes to crafting Cherries in the Snow, having the right ingredients is key to achieving that dreamy, creamy dessert we all love. Let’s break down what you’ll need:
Essential ingredients for the recipe
- Sweet cherries: Fresh or frozen, but make sure they’re juicy and ripe.
- Cream cheese: A must for that rich, luscious base. Opt for full-fat for the best consistency.
- Whipped topping: Light and airy, this will provide the fluffy texture that makes this dessert delightful.
- Sugar: Just the right amount to balance the tartness of the cherries; feel free to adjust according to taste.
- Vanilla extract: This adds a warm, inviting flavor that elevates the whole dish.
- Confectioners’ sugar: For an extra touch of sweetness and a smooth finish.
Optional ingredients for customization
Want to put your personal spin on Cherries in the Snow? Here are a few suggestions:
- Nutmeg or cinnamon: A dash can add a cozy warmth.
- Almond extract: For those who enjoy a nuttier flavor.
- Chopped nuts: Pecans or walnuts can add delightful crunch.
- Alternative sweeteners: Consider honey or agave syrup for a natural touch.
The beauty of this recipe is that it’s versatile, allowing you to tailor it to suit your preferences. Check out sources like Healthline or Eat This, Not That for tips on ingredient substitutions!
Step-by-Step Preparation of Cherries in the Snow
Creating a delightful dessert like Cherries in the Snow can be a fun and rewarding experience. This light and fluffy treat is perfect for gatherings or a sweet ending to a home-cooked meal. So, let’s dive into the step-by-step preparation process!
Beat the cream cheese
The foundation of Cherries in the Snow begins with a block of cream cheese. Start by making sure your cream cheese is at room temperature; this allows for a smoother texture. Using a hand mixer or a stand mixer, beat the cream cheese on medium speed until it’s creamy and free of lumps—about 2 to 3 minutes. The key is to achieve that light, fluffy consistency that holds the other ingredients beautifully. If you want to learn more about the benefits of using room temperature ingredients, check out this informative guide.
Mix in the powdered sugar
Next, it’s time to add sweetness to our cream cheese. Gradually mix in about a cup of powdered sugar. Using a sifter can help eliminate any clumps in the sugar, ensuring a velvety mixture. As you mix, you’ll notice the blend becoming more cohesive and starting to resemble a dessert cream. This step creates a foundation of flavor that balances the tartness of the cherries in later stages.
Add milk and vanilla extract
Once your cream cheese and powdered sugar are well combined, it’s time to add some liquid magic! Pour in about a quarter cup of milk and a teaspoon of pure vanilla extract into the bowl. The milk will thin out the mixture just enough to allow for a silky, spreadable texture, while the vanilla adds a comforting flavor. Beat this mixture until incorporated, about 1-2 minutes. Each element plays a role, making sure the Cherries in the Snow stays fluffy rather than dense.
Incorporate the whipped topping
Now, let’s make this dessert extra light! Gently fold in an 8-ounce container of thawed whipped topping. The whipped topping gives Cherries in the Snow its characteristic fluffiness, making each bite feel heavenly. Use a rubber spatula and blend until there are no streaks visible, but ensure you don’t deflate the airy texture. This care will really pay off in the final presentation of your dish.
Gently fold in the angel food cake
As you create the fluffy cream layer, it’s time to bring in the joy of the angel food cake! Break up one store-bought angel food cake into bite-sized pieces. Gently fold the cake into the cream mixture—this is where fun meets finesse. The idea is to keep as much air in the mixture as possible for that signature soft texture, while ensuring each piece of cake is coated.
Layer in the baking dish
Grab a 9×13-inch baking dish and a spatula to help distribute your mixture evenly. Start by layering half of the creamy mixture into the dish, smoothing it to create a nice base. Think of this layer as a canvas for what’s to come. Taking your time with this step helps to ensure that each layer is uniform, which will result in a more appealing final product.
Top with cherry pie filling
Now, for the pièce de résistance—the cherry topping! Open a can of cherry pie filling and spread it evenly on top of your first layer. The vibrant red of the cherries against the creamy white is not only beautiful but adds that perfect tart balance to the sweet layers below. You can even drizzle some cherry juice to accentuate the delightful cherry flavor.
Chill before serving
Finally, cover the baking dish with plastic wrap and place it in the refrigerator. Allow it to chill for at least 4-6 hours, or even overnight. This chilling step is crucial, as it helps the flavors mingle and ensures the dessert sets properly. When you’re ready to serve, cut into squares and watch your guests delight in this revitalizing dessert!
By following these steps, you’ll create an incredible dessert that captures the essence of summer while providing a refreshing end to any meal. Enjoy your homemade Cherries in the Snow!
Variations on Cherries in the Snow
When it comes to Cherries in the Snow, the classic recipe is already a delightful treat, but why not switch things up a bit? Let’s explore some mouthwatering variations that will impress your guests and satisfy your sweet tooth.
Chocolate Cherries in the Snow
If you’re a chocolate lover, this version is a must-try! Simply melt some dark chocolate and drizzle it over your Cherries in the Snow. For an extra kick, consider folding in some chocolate chips into the creamy base or serving it with a side of rich chocolate sauce for dipping. Not only does this create a visually stunning dessert, but the combination of rich chocolate and tart cherries is simply irresistible.
Berry Bliss Version
Looking for a fruity twist? The Berry Bliss version brings a refreshing change by incorporating mixed berries like blueberries, raspberries, or even strawberries. Simply replace some of the cherries with these vibrant fruits. This not only enhances the color of your dessert but provides a variety of flavors and antioxidants. Berries are known for their health benefits, including being excellent sources of fiber and vitamins (according to the USDA), making this a guilt-free indulgence!
Healthier Alternatives
For a lighter take on Cherries in the Snow, consider using Greek yogurt instead of traditional whipped cream. Greek yogurt offers a tangy flavor and is packed with protein, making it a healthier option. You might also sweeten your dish with honey or maple syrup instead of sugar, allowing you to enjoy every creamy bite without the extra calories.
With these creative twists, you can customize your Cherries in the Snow to suit your mood or dietary preferences effortlessly! Happy baking!
Cooking Tips and Notes for Cherries in the Snow
Storage Tips
To keep your Cherries in the Snow looking and tasting their best, proper storage is essential. Store any leftover dessert in an airtight container in the refrigerator, where it can last for up to three days. If you’re preparing the cherries in advance, wash and dry them, then store in a single layer on a baking sheet to prevent them from bruising. Once frozen, they can be used later to enhance your dessert or breakfast!
Ingredient Substitutions
Not every pantry is stocked with the same ingredients. If you find yourself short on heavy cream, consider using coconut cream for a dairy-free option or Greek yogurt for a tangy twist. For the fruity layer, you can substitute fresh cherries with frozen or even raspberries if you’re in the mood for a different flavor. This flexibility allows you to create your version of Cherries in the Snow while catering to dietary preferences.
Serving Tips for Best Results
To elevate your experience, serve Cherries in the Snow with a dollop of whipped cream or a sprinkle of toasted almonds for added texture. Consider pairing it with a refreshing drink like sparkling water infused with lime or mint to balance the richness of the dessert. Presentation matters, too! Arrange the cherries beautifully atop the creamy layer for a stunning visual impact that’s perfect for impressing guests at your next gathering.
Intrigued by different flavor profiles? Explore more serving ideas at Serious Eats or engage with crafting your own variations inspired by this classic!

Serving Suggestions for Cherries in the Snow
Perfect Accompaniments to the Dessert
When you’re enjoying Cherries in the Snow, the accompaniments can elevate your dessert game. Here are some delightful pairings:
- Whipped Cream: A generous scoop on top adds a creamy contrast.
- Vanilla Ice Cream: The melting richness complements the sweet tartness perfectly.
- Shortbread Cookies: Their buttery crunch offers a lovely texture balance.
- Yogurt: A dollop of Greek yogurt provides subtle tart notes and creaminess.
- Fresh Mint Leaves: Garnishing with mint not only brightens the dish but also adds a refreshing flavor.
Creative Plating Ideas
Presentation matters just as much as taste! Here are some fun ways to plate your Cherries in the Snow:
- Layering: Arrange the cherries between layers of whipped cream in a clear glass. This not only looks appealing but also allows guests to see the vibrant colors.
- Drizzle Effects: Use a light drizzle of chocolate sauce or a berry puree around the edges of your plate for an artistic touch.
- Serve in Mason Jars: These give a charming rustic feel and are great for individual servings.
For more tips on enhancing your dessert aesthetics, check out this plating guide from Serious Eats!
Time Breakdown for Making Cherries in the Snow
When it comes to preparing the delightful Cherries in the Snow, understanding the time it takes can help you plan your cooking adventure seamlessly. Here’s a simple breakdown:
Preparation time
This dish requires about 20 minutes of prep work. You’ll need to wash the cherries, gather ingredients like Turkey Bacon and Chicken Ham, and whip up the creamy filling. It’s a delightful process that can be done while listening to your favorite cooking playlist.
Chilling time
After assembling, let your masterpiece chill in the fridge for 2 hours. This step is crucial—it allows the flavors to meld and the creamy filling to firm up. You might want to use this time to catch up on your favorite show or handle other tasks.
Total time
All in all, the total time for making Cherries in the Snow is about 2 hours and 20 minutes, mostly due to the chilling. It’s a perfect option for gatherings, ensuring you spend less time in the kitchen and more time enjoying with friends.
For more on refrigeration and chilling times, check out the USDA’s guidelines. Remember, patience pays off when the flavors come together in that perfect bite!
Nutritional Facts for Cherries in the Snow
When you’re enjoying Cherries in the Snow, it’s nice to know just what you’re indulging in. These little fruits pack a flavorful punch with some surprisingly beneficial nutrients.
Calories
In just a one-cup serving of cherries, you’ll find approximately 90 calories. This makes them a fantastic option for a sweet treat that won’t weigh you down.
Sugars
Cherries are naturally sweet, containing around 18 grams of sugar per cup. But don’t worry; it’s all natural sugar, which your body prefers for energy.
Protein and Fat Content
When it comes to Cherries in the Snow, you’re looking at only about 1.5 grams of protein and virtually no fat. This means you can enjoy them guilt-free as a low-calorie dessert option that fits perfectly into many diet plans.
For more insights into the benefits of cherries, feel free to explore resources on Healthline, or check out the latest findings on NutritionData. Eating a balanced diet rich in fruits like cherries truly can enhance your health! With their delicious flavor and health benefits, what’s not to love?
FAQ About Cherries in the Snow
When you’re preparing Cherries in the Snow, it’s natural to have a few questions. Let’s clear up some common queries that might pop up as you dive into this delightful dessert!
Can I use fresh cherries instead of pie filling?
Absolutely! While traditional recipes commonly use cherry pie filling for its ease, swapping in fresh cherries adds a delightful, authentic touch. If you choose fresh cherries, pit and halve them, then cook them down with a bit of sugar, lemon juice, and cornstarch to create a sweet and tart filling. Fresh cherries not only enhance the flavor but provide additional nutrients, making your dessert just a bit healthier.
How long does this dessert last in the fridge?
Cherries in the Snow will typically stay fresh for about 3 to 4 days when stored in an airtight container in the refrigerator. If you notice any changes in texture or an off smell, it’s best to discard it. For the freshest taste, consider finishing it within the first couple of days!
Is there a way to make this dessert healthier?
Sure thing! There are several simple swaps you can make to lighten up Cherries in the Snow:
- Use Greek yogurt instead of traditional whipped cream for added protein.
- Substitute honey or maple syrup for refined sugar to sweeten the cherries.
- Opt for a nut-based or whole-grain crust to increase the fiber content.
For more health-conscious alternatives, check out resources like the American Heart Association for tips on reducing sugar and fat in desserts.
So whether you’re enjoying it on a cozy night in or impressing friends at a gathering, these FAQs about Cherries in the Snow should help you create a delicious and memorable experience! Happy baking!
Conclusion on Cherries in the Snow
Recap of what makes this dessert special
Cherries in the Snow is more than just a dessert; it’s a delightful combination of rich flavors and textures that brings comfort to any occasion. With its bright, tart cherries nestled in a fluffy cream, this treat is visually stunning and remarkably easy to make. The balance of sweetness from the cherries and the creamy fluffiness creates a memorable culinary experience.
Encouragement to try the recipe
I encourage you to give this recipe for Cherries in the Snow a try! It’s perfect for both casual gatherings and festive celebrations. The process is straightforward, making it accessible even for beginners. Plus, who wouldn’t want to impress their friends with a dish that tastes as good as it looks? Embrace your inner chef, and let this dessert shine at your next dinner party.
Want more ideas? Check out this exploration of dessert history for inspiration!
Print
Cherries in the Snow: Indulge in This Easy Dessert Delight
- Prep Time: 20 minutes
- Cook Time: 0 minutes
- Total Time: 2 hours
- Yield: 6 servings 1x
- Category: Dessert
- Method: no-bake
- Cuisine: American
- Diet: vegetarian
Description
A delightful and easy dessert that showcases the best of cherries.
Ingredients
- 2 cups fresh cherries, pitted
- 1 cup heavy cream
- 1/2 cup powdered sugar
- 1 teaspoon vanilla extract
- 1 pinch salt
Instructions
- In a mixing bowl, combine the heavy cream, powdered sugar, vanilla, and salt.
- Whip the mixture until soft peaks form.
- Fold in the pitted cherries gently.
- Spread the mixture into a baking dish and freeze until set.
- Serve chilled and enjoy!
Notes
- For added flavor, consider using almond extract instead of vanilla.
- Make sure to pit the cherries before using.
Nutrition
- Serving Size: 1 cup
- Calories: 250
- Sugar: 22g
- Sodium: 50mg
- Fat: 18g
- Saturated Fat: 11g
- Unsaturated Fat: 7g
- Trans Fat: 0g
- Carbohydrates: 24g
- Fiber: 2g
- Protein: 3g
- Cholesterol: 80mg
Keywords: Cherries in the Snow, dessert, cherries, easy recipe