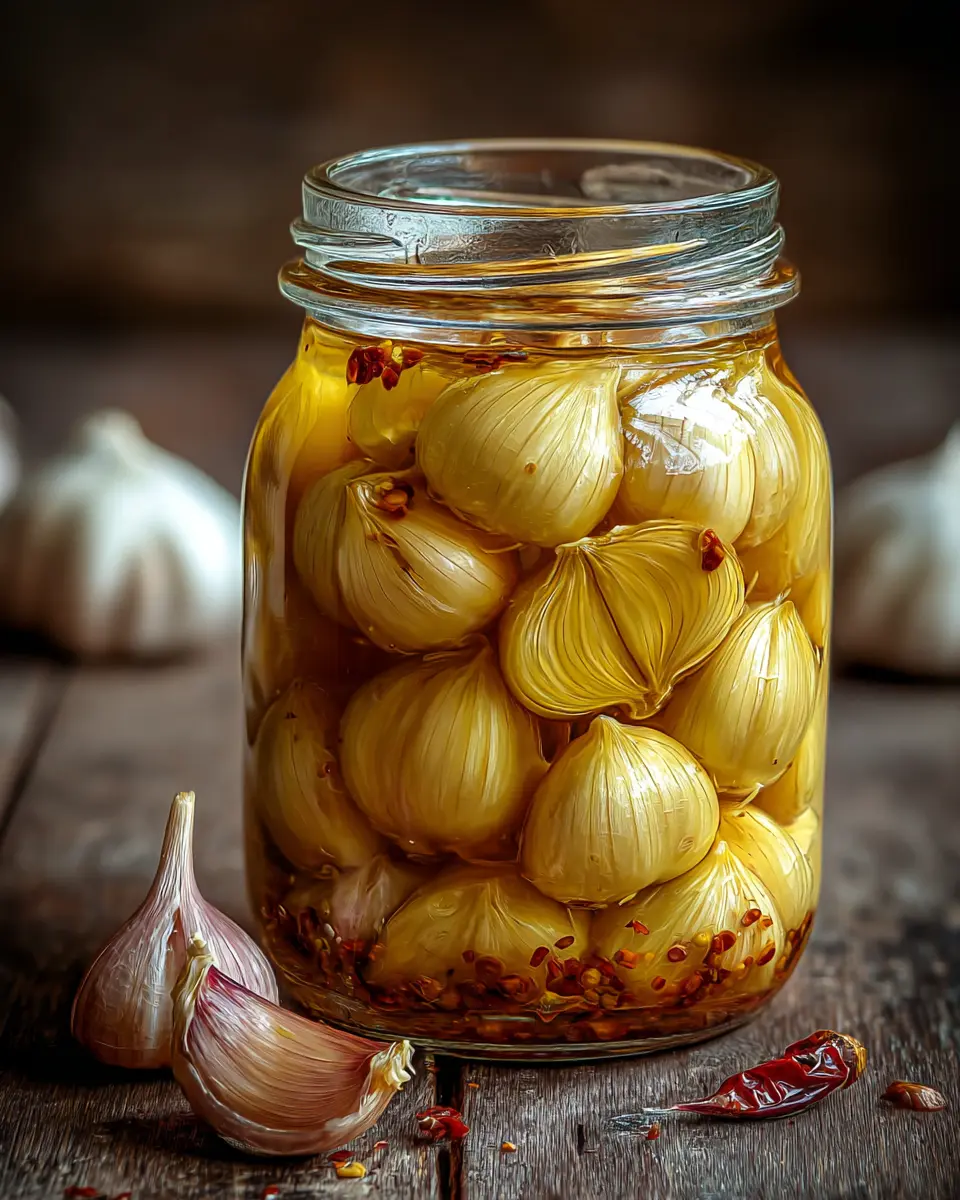
Introduction to Pickled Garlic
If you’re looking to elevate your meals without spending hours in the kitchen, pickled garlic might just be your new best friend. For young professionals juggling work and life, the addition of this flavorful ingredient can make a substantial difference in your culinary experiences. But why is pickled garlic such a game changer?
The Flavor Booster You Didn’t Know You Needed
If you’ve ever struggled to find ways to add flavor to your meals while keeping preparation time short, pickled garlic is the solution. This tangy, zesty ingredient transforms ordinary dishes by infusing them with a pop of acidity and complex flavors. Think about your go-to quick meals like salads, sandwiches, or wraps. A couple of slices of pickled garlic can take them to the next level, making even the simplest turkey bacon or chicken ham sandwich a gourmet experience.
Beyond flavor, pickled garlic also offers potential health benefits, according to studies from institutions like the National Center for Biotechnology Information. It can support your immune system and even help with digestion. So, not only are you eating something delicious, but you’re also nourishing your body.
Meal Prep with Ease
Young professionals often rely on meal prep to save time during the week. Incorporating pickled garlic into your meal prep can add variety to your meals while enhancing their taste significantly. You can prepare a large batch of pickled garlic and use it throughout the week in various dishes. From stir-fries to protein bowls, this vibrant ingredient can save the day!
- Salads: A servings of pickled garlic brightens any salad, adding not just flavor but also crunch.
- Grain Bowls: Mixed with rice or quinoa, it’s a game-changer.
- Dips: Blend it into hummus for a flavorful twist.
So, whether you’re whipping up dinner after a long day at work or planning weekend meal prep, pickled garlic can be your flavorful ally. Why not give it a try and see how it transforms your weekly menus? You might find yourself wondering how you ever lived without it!
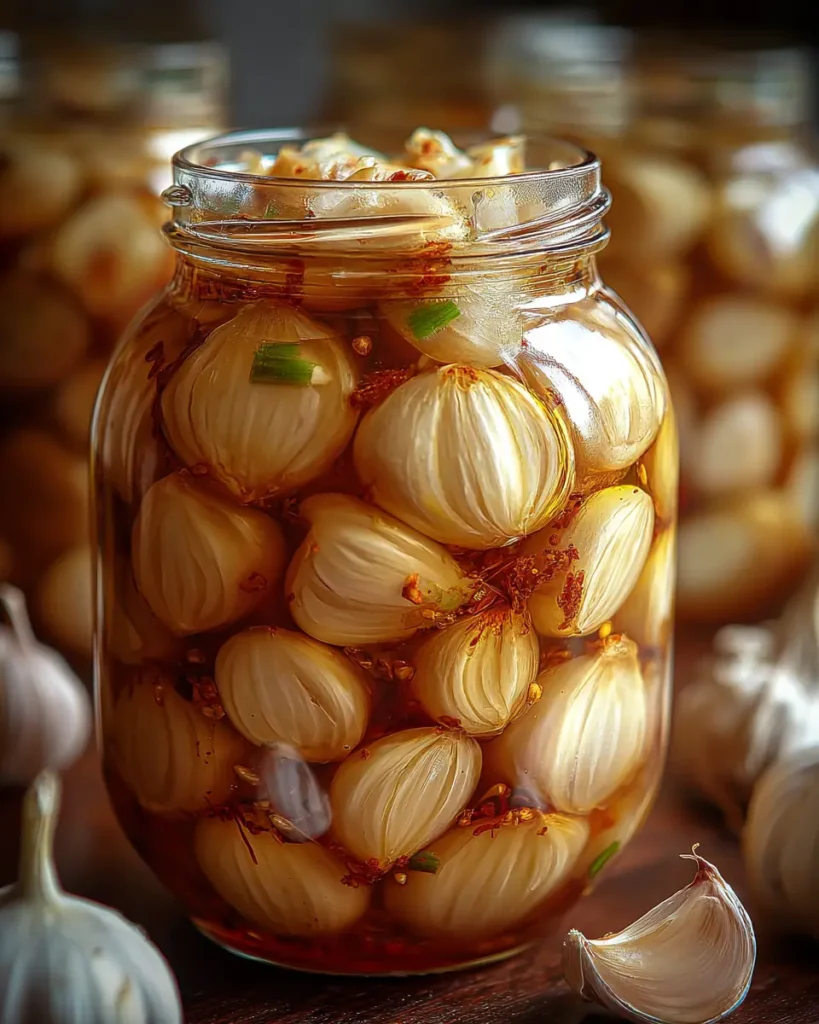
Ingredients for Pickled Garlic
Essential ingredients for a perfect batch
Creating the perfect pickled garlic begins with selecting the right ingredients. This simple yet delightful recipe will elevate your dishes with bold flavors and numerous health benefits. Here’s what you’ll need for a tasty batch:
- Fresh Garlic Bulbs: About 10 large cloves will give you that robust garlic flavor.
- Vinegar: Use apple cider or white vinegar for a tangy kick (preferably organic if available).
- Water: Helps balance the acidity; aim for filtered water for the cleanest taste.
- Salt: Use kosher or sea salt—about 2 tablespoons—for proper preservation.
- Sugar: Just a teaspoon or so to balance the garlic’s sharpness.
- Spices: Black peppercorns, mustard seeds, or chili flakes add a delightful twist.
- Optional Flavor Enhancers: Consider bay leaves or fresh herbs like dill for an extra depth.
These ingredients come together to create a delicious pickled garlic that can last quite a while in your fridge. This recipe allows for some creativity, so don’t hesitate to explore different vinegars or spices! If you’re curious about health benefits, check out this article from Healthline that discusses the wonders of garlic.
Experimenting with your own variations can make the pickling experience even more enjoyable. Happy pickling!
Step-by-Step Preparation of Pickled Garlic
Pickled garlic is a culinary gem that combines the robust flavor of garlic with a tangy, sweet brine. It’s not only a fantastic addition to various dishes but also great for snacking on or even as a flavorful side. If you’re ready to embark on this delightful pickling adventure, let’s dive into the steps!
Gather Your Tools and Ingredients
Before kickstarting this pickled garlic process, you’ll need to gather a few essential tools and ingredients. Preparation is key, so here’s a checklist:
Tools:
- Mason jars (with lids)
- Saucepan
- Measuring cups and spoons
- Tongs
- Ladle
- Cutting board and knife
Ingredients:
- Fresh garlic bulbs (about 2 cups peeled)
- Water (1 cup)
- White vinegar (1 cup)
- Sugar (1/3 cup)
- Salt (1 tablespoon)
- Optional: herbs (like dill or thyme), spices (like peppercorns or red pepper flakes) for added flavor
Having everything on hand will make the entire process smooth sailing!
Sterilize the Jars Safely
Safety first! Before preparing pickled garlic, you need to ensure your jars and lids are sterilized to avoid any unwanted bacteria. Here’s how:
- Wash the jars: Use warm, soapy water to thoroughly clean your jars and lids.
- Boil: Place the jars and lids in a large saucepan of water. Bring to a boil and let them simmer for 10 minutes.
- Cool: Carefully remove them using tongs and let them cool upside down on a clean kitchen towel. This step is crucial for safe preservation!
For detailed sterilization techniques, check out National Center for Home Food Preservation.
Prepare the Pickling Liquid
Time for the magic mix! The pickling liquid is where the flavor shines through. Follow these simple steps:
- Combine ingredients: In a medium saucepan, pour in the water, white vinegar, sugar, and salt.
- Heat: Bring the mixture to a gentle boil, stirring until the sugar and salt dissolve completely.
- Optional flavoring: Feel free to experiment by adding spices or herbs to this mixture—it’s your pickled garlic, after all!
Allow the pickling liquid to cool slightly but not completely; it should still be warm when you add it to the garlic.
Pack the Garlic into the Jar
Next up, it’s time to arrange that garlic.
- Peel the garlic: If you haven’t already, peel those garlic cloves and give them a quick rinse.
- Arrange: Pack the cloves tightly into your sterilized jars. If you’re using herbs or spices, add those in layers for even flavor distribution.
This step can be a little therapeutic! Just imagine how good your pickled garlic will taste.
Add the Pickling Liquid and Cool
Now that you’ve packed the garlic beautifully, pour the warm pickling liquid over the garlic until it’s covered completely. Here’s how:
- Leave space: Ensure there’s about half an inch at the top of the jars; this is crucial for expansion.
- Seal: Wipe the rims of the jars with a clean cloth to remove any residues before sealing them with lids.
Set them aside to cool to room temperature.
Refrigerate and Wait (The Hardest Part!)
You’ve done all the hard work! Now comes the waiting game—the most challenging part of making pickled garlic.
- Refrigerate: Once cooled, pop those jars into the refrigerator. It’s best to wait at least 24 hours for the flavors to meld, but for ideal taste, let them sit for a week. Trust me; it’s worth it!
- Enjoy: Use your pickled garlic in salads, sandwiches, or just as a snack on its own. It can even elevate your turkey bacon or chicken ham dishes!
There you have it—a delightful, flavorful journey into the world of pickled garlic. Enjoy the process, experiment with flavors, and don’t forget to share your pickling adventures!
Variations of Pickled Garlic
Pickled garlic is a versatile staple that can enhance a variety of dishes. But why stick to the classic method when you can explore exciting variations? Let’s dive into a couple of crowd-pleasing options!
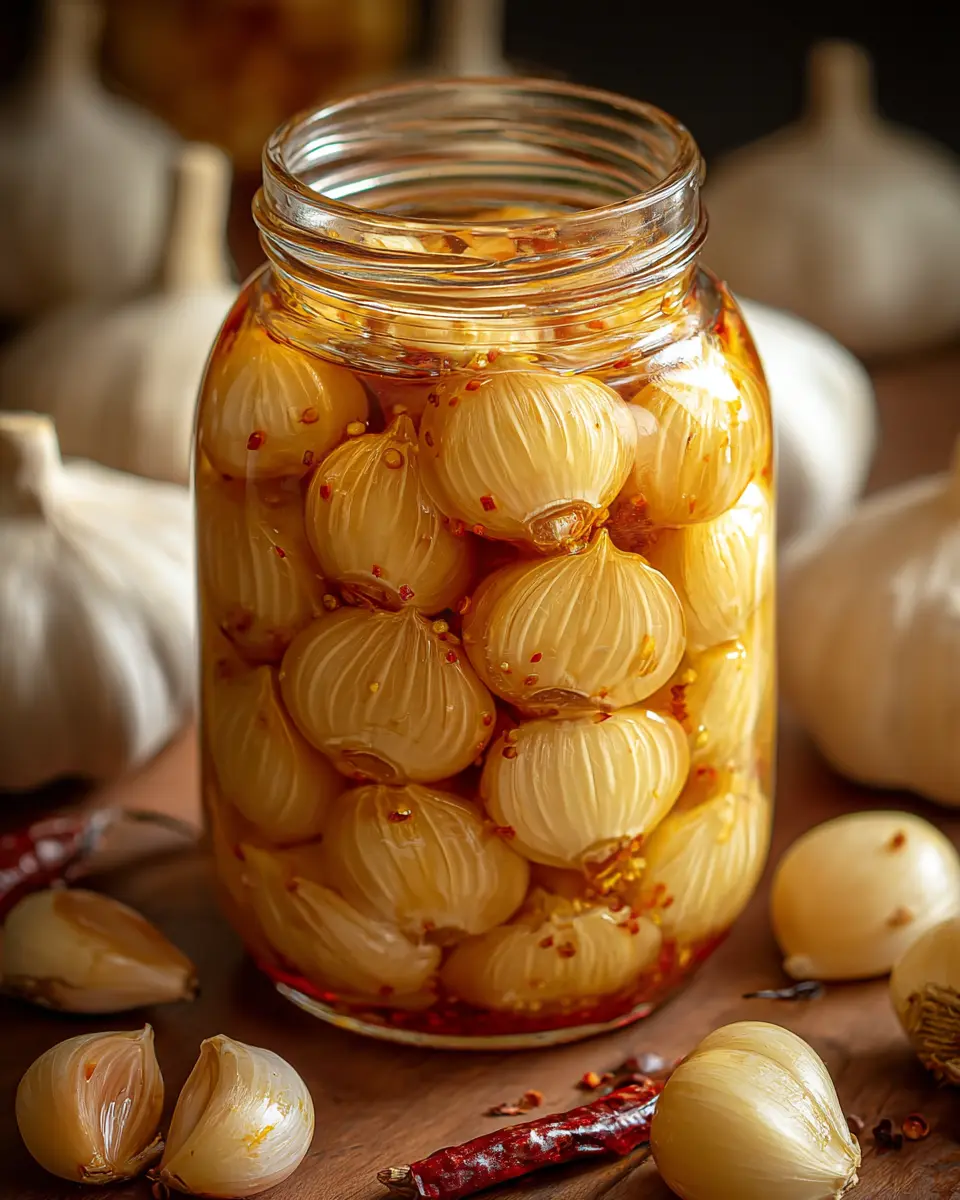
Spicy Pickled Garlic with Chili Peppers
If you’re a fan of heat, this variation of pickled garlic will be right up your alley. Adding chili peppers not only infuses your garlic with a delightful kick but also adds a beautiful pop of color to your jars. Here’s a simple way to spice things up:
- Ingredients: Whole garlic cloves, sliced fresh chili peppers, vinegar, water, sugar, and salt.
- Method: Combine equal parts vinegar and water, adding sugar and salt to taste. Place your garlic and chili peppers in sterilized jars. Pour the vinegar mixture over until fully submerged, then seal and refrigerate.
You can mix different types of peppers for varied heat levels, from jalapeños to habaneros. This version is perfect for adding to sandwiches, salads, or as a zesty snack on its own!
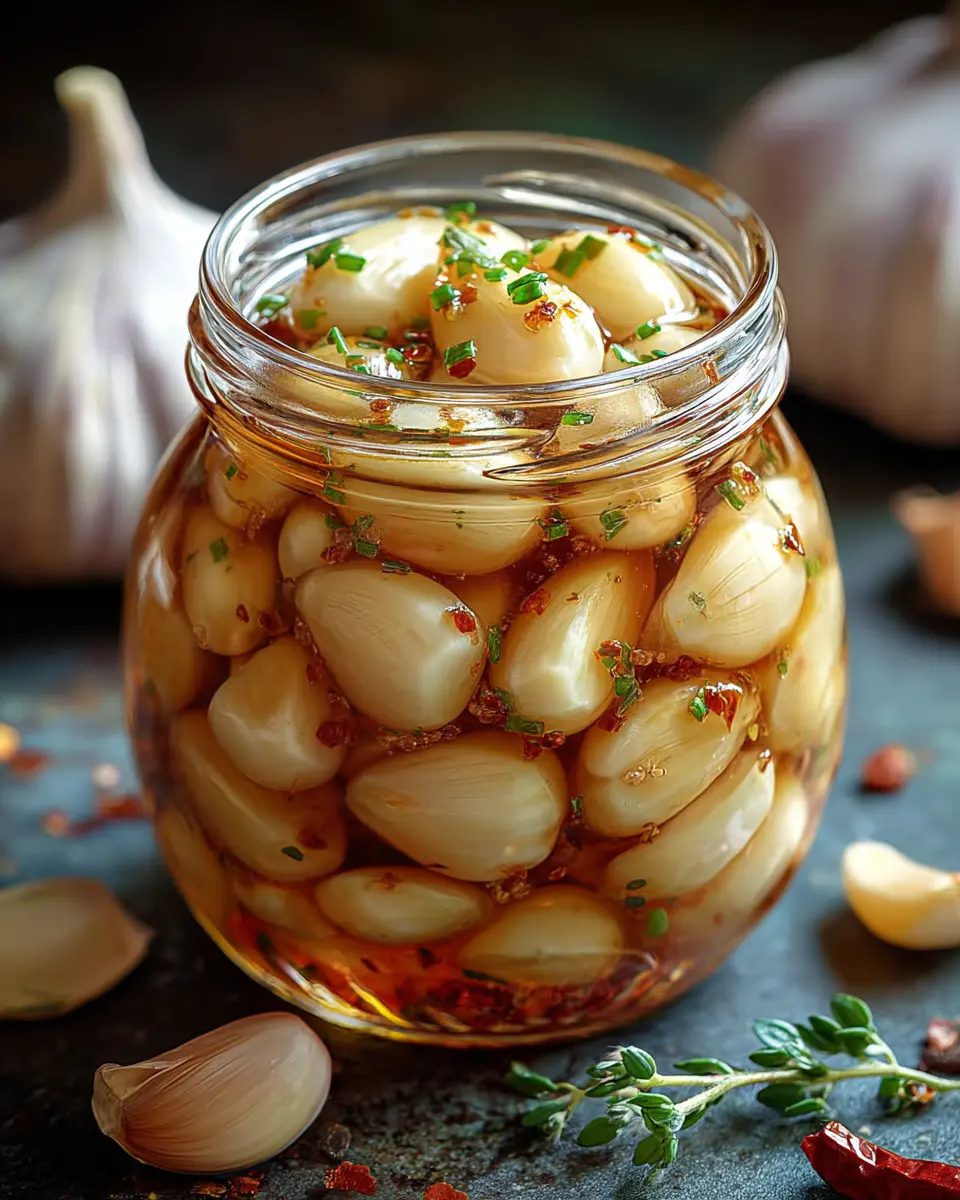
Sweet and Tangy Garlic with Additional Herbs
For a more nuanced flavor profile, why not try a sweet and tangy pickled garlic? Combining garlic with honey or brown sugar delivers a delightful contrast to the tangy vinegar. Here’s how to create a flavorful mix:
- Ingredients: Garlic, vinegar, a sweetener (like honey), fresh herbs (like thyme or dill), and spices (like mustard seeds).
- Method: Prepare your brine with vinegar, sweetener, and a pinch of salt. Layer whole garlic cloves with chosen herbs and spices in a jar, then pour the brine over them. Seal and refrigerate.
This variation pairs wonderfully with roasted vegetables or can provide a unique twist in a charcuterie board. Additionally, experimenting with herbs can lead you to delicious discoveries!
These variations not only amp up the flavor but also showcase the flexibility of garlic as an ingredient. For more insights, check out resources like The Kitchn or Serious Eats for expert tips. Happy pickling!
Cooking Tips and Notes for Pickled Garlic
Importance of Sterilization
When making pickled garlic, proper sterilization of your jars is crucial to ensure a safe and long-lasting product. By sterilizing, you kill any bacteria that could spoil your delicious creation. Simply boil your jars and lids in water for about 10 minutes or run them through the dishwasher on a high heat setting. Your effort here will pay off, allowing your pickled garlic to shine in flavor and shelf life.
Adjusting Flavor Profiles
One of the best parts of creating your own pickled garlic is the ability to customize the flavors to suit your palate. Want something sweeter? Add a bit of brown sugar. Prefer a spicy kick? Toss in some red pepper flakes or fresh chili. You can also experiment with herbs—think dill, bay leaves, or even thyme—to create a unique blend.
Remember, don’t be afraid to taste! As you adjust, you’ll discover the perfect combination that brings your version of pickled garlic to life. Want more ideas? Check out resources like Serious Eats for inspiration on flavor mixing.
Serving Suggestions for Pickled Garlic
Clever Ways to Enjoy Pickled Garlic
If you’re looking to elevate your meals, pickled garlic can be a game-changer. Not only does it add a burst of tangy flavor, but it also boasts health benefits like potential immune support. Think of it as a quirky ingredient to surprise your guests! Try adding diced pickled garlic to:
- Salads: Toss it in a vibrant mixed green salad or a refreshing cucumber salad.
- Sandwiches: Layer it with turkey bacon and chicken ham on a hearty roll for an unexpected zing.
- Dips: Blend it into hummus or creamy spreads for an extra kick.
Pairing Ideas for Meals and Snacks
Wondering what goes well with pickled garlic? Here are some delicious pairings:
- Grilled Proteins: Serve alongside grilled chicken or beef for a flavor boost.
- Cheese Boards: Include it on your cheese platter with sharp cheeses and olives for a delightful balance.
- Wraps and Tacos: Incorporate it into veggie or meat-filled wraps and tacos for added crunch and taste.
No matter how you decide to enjoy pickled garlic, it’s sure to make your dishes memorable. For more tips on using pickled ingredients, check out The Kitchn or Serious Eats.
Time Breakdown for Pickled Garlic
Preparation Time
Getting your ingredients ready takes about 10 minutes. Peel the garlic cloves and gather your spices and vinegar. You can even go ahead and customize the spices to your taste!
Cooking Time
Once everything’s prepped, the actual cooking process, which involves simmering your ingredients to create that perfect vinegar blend for your pickled garlic, takes about 15 minutes. It’s just enough time to add a little dance to your kitchen playlist!
Total Time
In total, you’re looking at around 25 minutes to whip up this delicious pickled garlic recipe.
Batch it up and enjoy the flavor explosion in your dishes over the coming weeks! For more tips on pickling, check out this guide on The Benefits of Pickling Your Foods.
Nutritional Facts of Pickled Garlic
Calories per clove
When you indulge in delicious pickled garlic, you might be surprised to learn that each clove contains only about 4 calories. This makes it a great addition to your meals for flavor without piling on the calories. The tangy taste can brighten up salads, sandwiches, and even your favorite dips while keeping your overall calorie intake in check.
Exciting Health Benefits of Garlic
Garlic is more than just a flavor powerhouse; it offers numerous health benefits too:
- Boosts Immunity: Garlic has been shown to enhance immune function, which can help fend off the common cold and flu.
- Heart Health: Regular consumption of garlic is linked to lower blood pressure and reduced cholesterol levels, promoting better heart health. A study from the American Journal of Clinical Nutrition supports this.
- Antioxidant Properties: Garlic is rich in antioxidants, which play a key role in reducing oxidative stress.
So next time you’re enjoying pickled garlic, remember it’s not just a tasty treat; it’s also a little powerhouse of nutrition! Want to dive deeper? Check out this nutrition overview from the Mayo Clinic for more insights.
FAQs about Pickled Garlic
How long does pickled garlic last?
If you’re wondering about the shelf life of your homemade pickled garlic, you’re in luck! When properly stored in the refrigerator, you can expect it to last for about three to six months. The acidity from the pickling solution helps preserve it, but be sure to check for any signs of spoilage, such as off smells or changes in color, to ensure it’s still safe to eat. For more detailed food storage tips, you can check out resources like the USDA Food Safety site.
Can I use unpeeled garlic for pickling?
While it might be tempting to toss in unpeeled garlic, it’s generally best to use peeled cloves for pickled garlic. Peeled garlic promotes better absorption of the pickling brine, resulting in a more flavorful end product. Plus, it’s more convenient to eat! If you’re short on time, consider buying pre-peeled garlic to simplify the process.
What are the health benefits of consuming pickled garlic?
Incorporating pickled garlic into your diet can have impressive health benefits. Rich in antioxidants and compounds like allicin, pickled garlic can promote heart health by lowering cholesterol levels and blood pressure. Some studies suggest it may even have antibacterial properties. For additional health info, the Mayo Clinic offers some great insights to consider.
In short, making your own pickled garlic is not only a fun kitchen project but also adds a zesty kick to your meals while boosting your wellness. Enjoy your culinary adventures!
Conclusion on Pickled Garlic
Making your own pickled garlic is not only fun but also allows you to customize flavors to match your taste. Imagine the satisfaction of creating a zesty addition that enhances your meals, whether it’s a savory sandwich or a delightful salad. Don’t hesitate to experiment with different spices and ingredients!
For a reliable guide, consider checking out resources from the National Center for Home Food Preservation or Serious Eats. If you’re new to pickling, start small and embrace the process. The joy of opening a jar of your own tangy creation is truly rewarding. Happy pickling!
Print
Pickled Garlic Perfection: Elevate Your Dishes with Easy Flavors
- Prep Time: 15 minutes
- Cook Time: 10 minutes
- Total Time: 25 minutes
- Yield: 1 jar 1x
- Category: Preserves
- Method: Pickling
- Cuisine: International
- Diet: Vegetarian
Description
Transform your meals with the unique taste of pickled garlic. Discover how easy it is to make and incorporate into your favorite recipes!
Ingredients
- 2 cups garlic cloves
- 2 cups white vinegar
- 1 cup water
- 1/4 cup sugar
- 2 teaspoons salt
- 1 teaspoon black peppercorns
- 1/2 teaspoon red pepper flakes
- 1 sprig fresh thyme
Instructions
- Peel the garlic cloves and set aside.
- In a pot, combine vinegar, water, sugar, and salt. Bring to a boil over medium heat.
- Add garlic cloves, peppercorns, red pepper flakes, and thyme to the pot. Simmer for 10 minutes.
- Remove from heat and let it cool for a few minutes.
- Transfer the garlic and liquid to a clean jar. Seal tightly and let it sit at room temperature for 24 hours.
- Refrigerate for up to two weeks before using for best flavor.
Notes
- For a more intense flavor, allow the pickled garlic to sit longer in the fridge.
- Use the pickled garlic in salads, sandwiches, or as a snack on its own!
Nutrition
- Serving Size: 2 cloves
- Calories: 25
- Sugar: 5g
- Sodium: 350mg
- Fat: 0g
- Saturated Fat: 0g
- Unsaturated Fat: 0g
- Trans Fat: 0g
- Carbohydrates: 6g
- Fiber: 0g
- Protein: 1g
- Cholesterol: 0mg
Keywords: Pickled Garlic