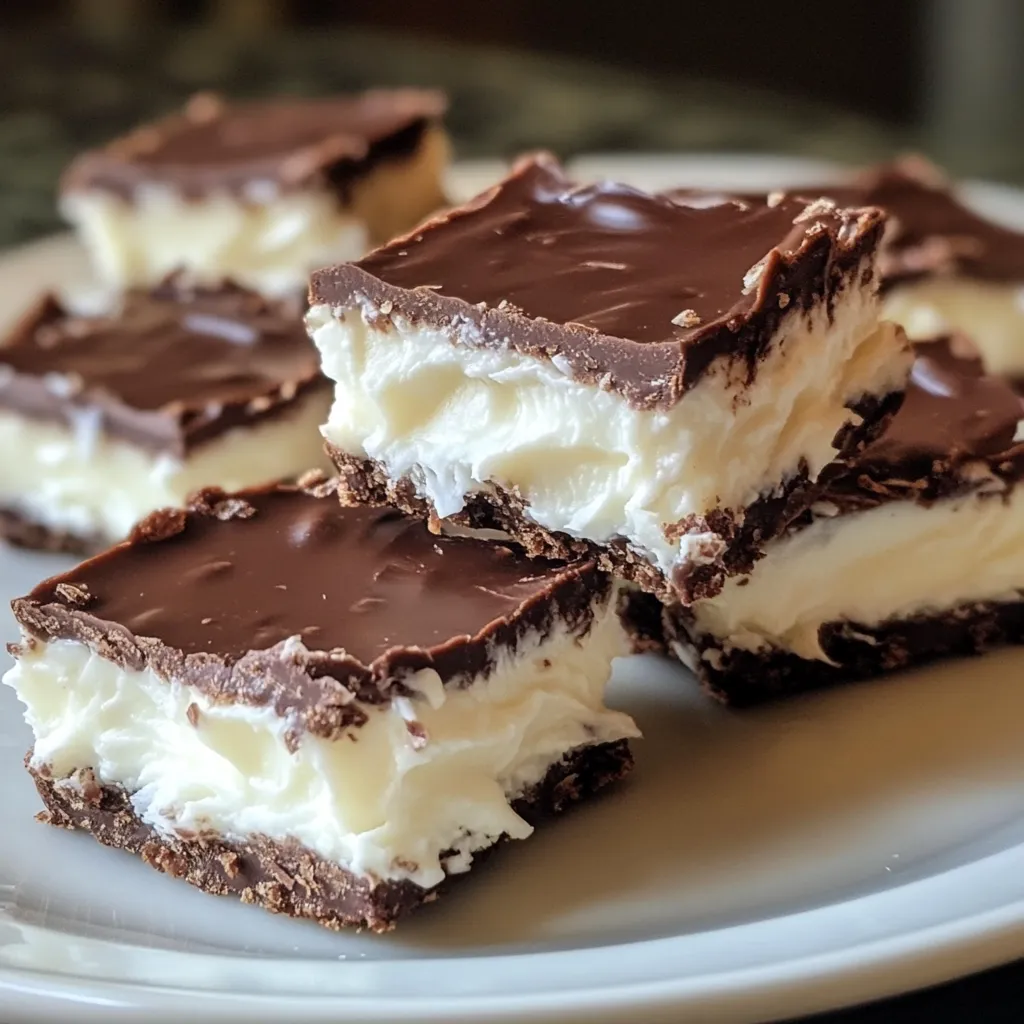
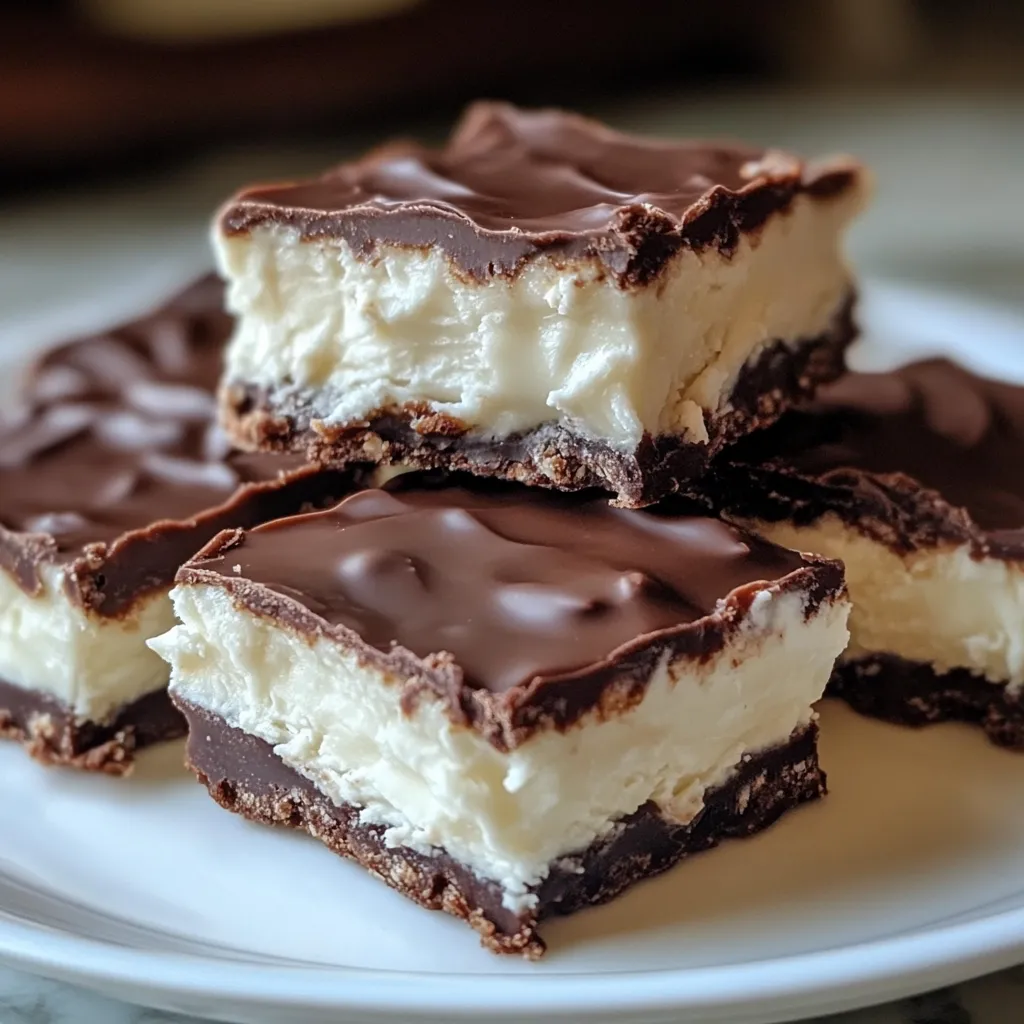
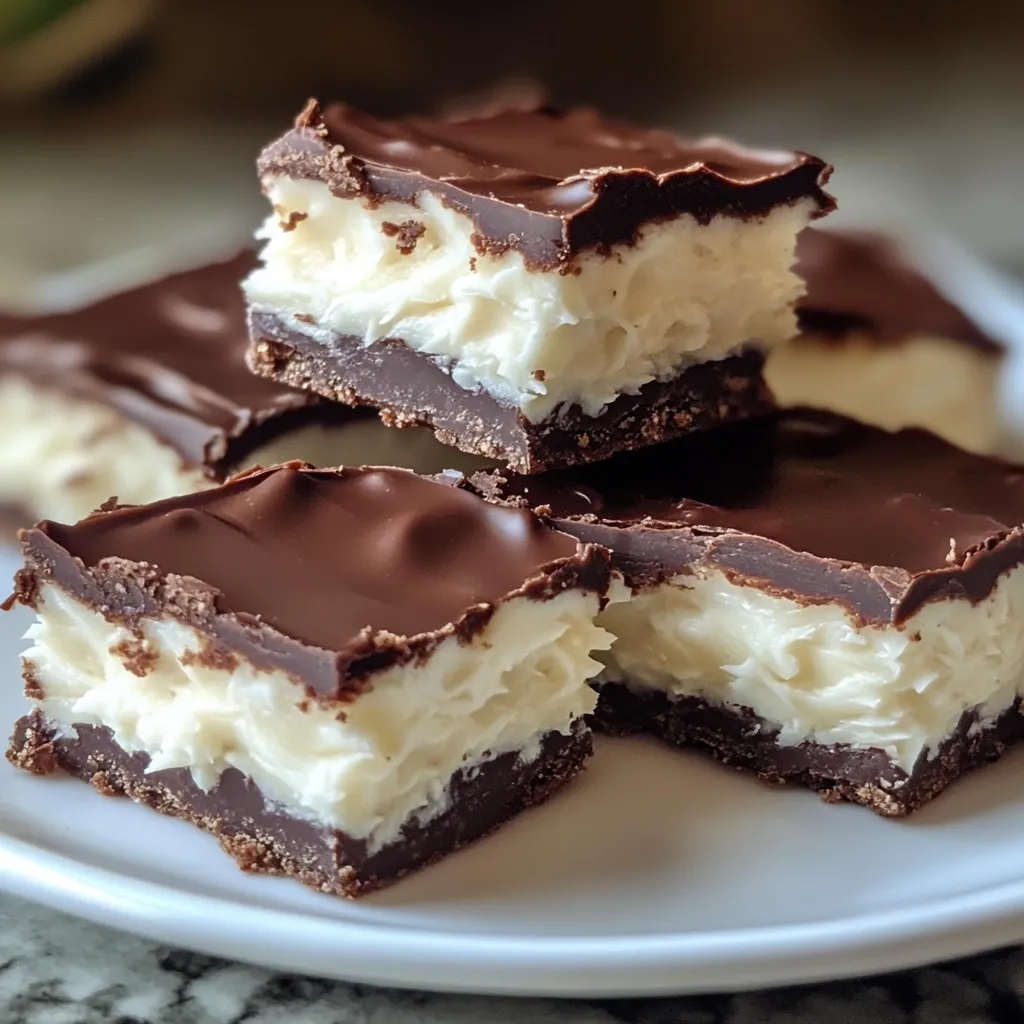
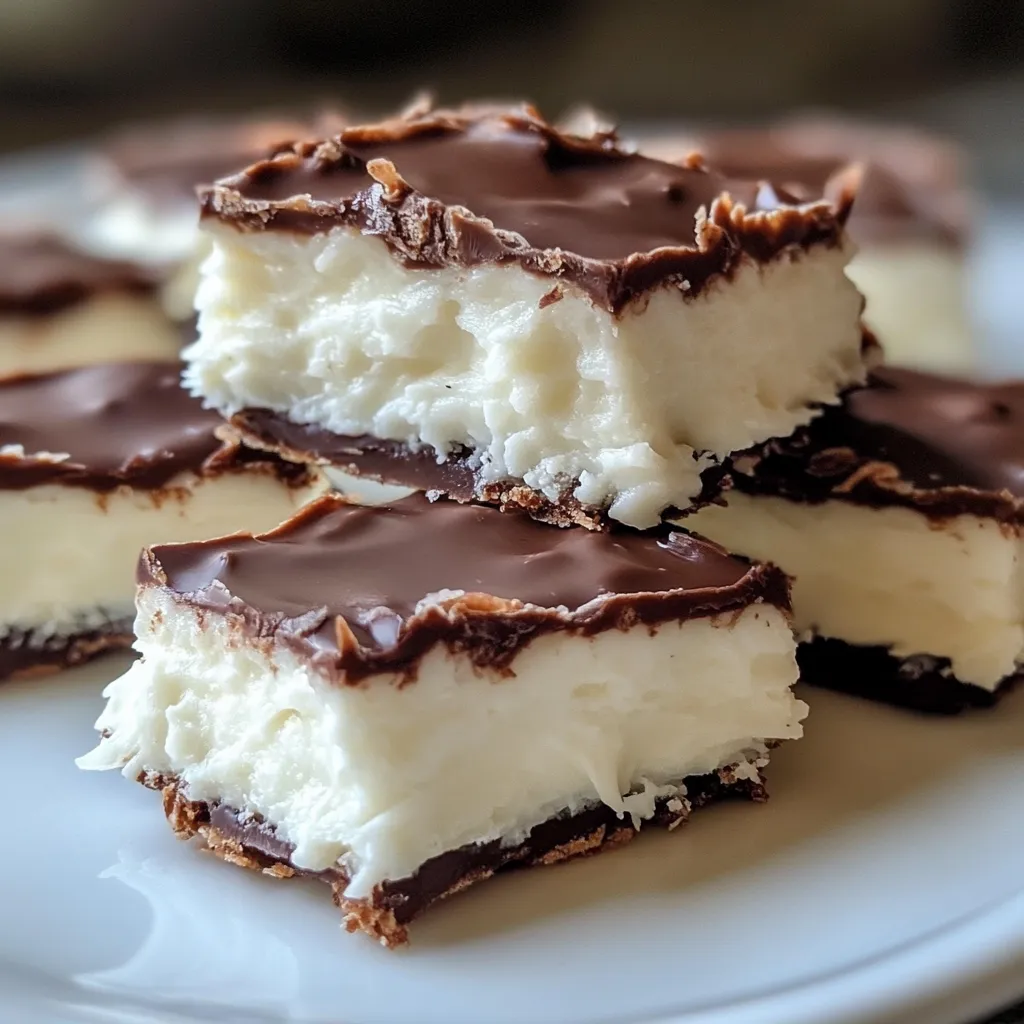
Homemade Mounds Bars are a delightful treat that combine the creamy sweetness of coconut with the rich decadence of chocolate. These candy bars have been a classic favorite for generations, loved for their simple yet indulgent flavors. Originally introduced in the 1920s, Mounds Bars quickly became a household name, offering a unique chocolate-covered coconut experience.
Making your own Mounds Bars at home is not only fun but also incredibly easy. With just three simple ingredients, you can recreate this iconic candy with a fresher, more customizable taste. Plus, homemade versions allow you to control the quality of ingredients and avoid unnecessary additives, making them a healthier option. Whether you’re a seasoned baker or a beginner in the kitchen, this recipe promises quick, delicious results.
For tips on achieving the perfect chocolate coating, check out these best chocolate melting tips. And if you’re curious about the history of these treats, learn more through this fascinating article.
Ingredients Breakdown
1. Sweetened Shredded Coconut
- Why it’s essential: Shredded coconut is the foundation of Mounds Bars, providing their signature chewy texture and tropical flavor.
- Possible substitutions: If you prefer less sweetness, opt for unsweetened shredded coconut. You can also use coconut flakes, but they may require extra processing to achieve the right consistency.
2. Sweetened Condensed Milk
- Role in the recipe: This acts as the binding agent, holding the coconut mixture together while adding a creamy sweetness that balances the bitterness of dark chocolate.
- Tips for adjustments: If you’re looking for a vegan option, consider using a vegan condensed milk substitute.
3. Dark Chocolate Chips
- Why dark chocolate? Dark chocolate creates a perfect contrast with the sweet coconut filling, but other options like milk chocolate or semi-sweet chips work well too.
- Alternatives to explore:
- Milk chocolate for a sweeter coating.
- White chocolate for a fun variation with a lighter flavor profile.
With these simple ingredients, you’re just a few steps away from crafting your own delicious homemade candy bars. Their ease of preparation and versatility make them an ideal choice for every occasion.
Step-by-Step Instructions
Making 3-ingredient Homemade Mounds Bars is simple and rewarding. Follow these easy steps to craft your own candy bars with minimal effort and maximum flavor.
Preparing the Coconut Mixture
The first step is to combine the shredded coconut and sweetened condensed milk. These two ingredients form the chewy, flavorful base of your bars.
- In a large mixing bowl:
- Add 2 cups of sweetened shredded coconut.
- Pour in 1/2 cup of sweetened condensed milk.
- Use a spoon or spatula to thoroughly mix until the coconut is evenly coated, forming a sticky, cohesive mixture.
Tips for Adjusting Consistency
- If the mixture feels too wet, add a little more shredded coconut, one tablespoon at a time.
- If it’s too dry to hold together, add a small drizzle of condensed milk until it binds properly.
For additional guidance on creating a perfect texture, consult these expert chocolate melting tips, which also include advice on working with mixtures like this.
Shaping the Bars
Once your coconut mixture is ready, it’s time to shape the bars.
- Form the shapes:
- Use a spoon to scoop out portions of the mixture (about 2 tablespoons per bar).
- Shape each portion into a small rectangular bar by rolling and pressing it gently between your palms.
- Avoid sticking:
- Keep your hands slightly damp to prevent the sticky coconut mixture from clinging.
- Prepare for dipping:
- Place each shaped bar onto a parchment-lined baking sheet.
- Freeze for firmness:
- Put the baking sheet in the freezer for 15–20 minutes. This step ensures the bars hold their shape during the chocolate coating process.
Melting the Chocolate
Properly melting the dark chocolate chips is crucial for achieving a smooth, glossy coating.
Microwave Method
- Place 2 cups of dark chocolate chips into a microwave-safe bowl.
- Heat in 30-second intervals, stirring thoroughly after each.
- Continue until the chocolate is fully melted and smooth.
Double Boiler Method
- Add the chocolate chips to a heatproof bowl.
- Place the bowl over a saucepan with simmering water, ensuring the bottom of the bowl doesn’t touch the water.
- Stir continuously until melted.
Common Mistakes to Avoid
- Overheating: This can cause the chocolate to seize or burn. Heat slowly and stir often.
- Skipping stirring: Uneven melting can lead to lumps.
For a detailed guide on melting chocolate, check out this article.
Coating the Bars
With your chocolate melted and bars chilled, it’s time to coat them.
- Dip the bars:
- Use a fork or dipping tool to lower each coconut bar into the melted chocolate.
- Turn the bar to ensure it’s fully coated on all sides.
- Drip excess chocolate:
- Gently tap the fork against the side of the bowl to remove any extra chocolate.
- Set the bars:
- Place the coated bars back onto the parchment-lined baking sheet.
- Optional garnish:
- Add a sprinkle of flaky salt, drizzle additional chocolate, or dust with powdered sugar for an elevated look.
Setting the Chocolate
Refrigerating the coated bars helps the chocolate harden perfectly.
- Refrigerate for 10–15 minutes:
- Place the tray of coated bars into the fridge. This ensures a quick, even setting process.
- Check the finish:
- Once the chocolate is firm, the bars are ready to eat.
Troubleshooting Tips
- Chocolate streaks: If the chocolate sets with streaks, it could be due to moisture or uneven cooling. Always ensure bars are dry before dipping and chill them evenly.
- Sticky coating: If the chocolate remains sticky, extend the refrigeration time.
By following these easy steps, you’ll create a batch of irresistible Homemade Mounds Bars. Not only are they quick and delicious, but they also rival the store-bought version in both flavor and quality. For an extra challenge, try experimenting with alternative coatings or fillings to create your own unique variations!
Creative Variations of Homemade Mounds Bars
Once you’ve mastered the basic Homemade Mounds Bars, why not add some creative twists? These variations introduce exciting flavors and textures, transforming your classic treat into something new and unique. Here are three irresistible ideas to try!
1. Almond Joy Variation
If you love Almond Joy, this variation is for you. By adding crunchy almonds and swapping dark chocolate for milk chocolate, you can recreate the classic Almond Joy flavor at home.
Steps to Make Almond Joy Bars:
- Prepare the coconut mixture as usual.
- Before freezing the bars, press a single almond (or two, depending on size) into the top of each shaped bar.
- Coat with milk chocolate: Melt milk chocolate chips instead of dark chocolate for a sweeter finish.
- Dip each bar into the melted chocolate, ensuring the almond is fully covered.
Pro tip: For an extra nutty flavor, lightly toast the almonds before adding them. Learn more about almond-based recipes with this guide to nut desserts.
2. White Chocolate & Macadamia Nut Version
For a tropical twist, combine white chocolate with buttery macadamia nuts. This variation adds a creamy, nutty richness to the original recipe.
How to Make White Chocolate Macadamia Bars:
- Chop macadamia nuts into small pieces and mix them into the coconut mixture before shaping.
- Shape the bars as usual and freeze them until firm.
- Melt white chocolate chips instead of dark chocolate.
- Dip the bars into the melted white chocolate, ensuring full coverage.
- Optional garnish: Sprinkle additional macadamia nut pieces on top of the coating before it hardens.
This version pairs beautifully with a light sprinkle of sea salt, balancing the sweetness of white chocolate.
3. No-Bake Mounds Bars in a Pan
For those short on time, try this simplified no-bake method that requires no individual shaping or dipping.
Instructions for the No-Bake Pan Version:
- Line an 8×8-inch baking pan with parchment paper.
- Press the coconut mixture evenly into the pan, forming a flat layer.
- Melt the chocolate chips (dark, milk, or white) and pour the melted chocolate over the coconut layer.
- Spread the chocolate evenly with a spatula.
- Refrigerate for 20–30 minutes or until the chocolate sets.
- Once firm, cut into squares or rectangles to serve.
This method is perfect for potlucks or when you need a quick, crowd-pleasing dessert. For more easy no-bake recipes, explore this collection of simple treats.
Why Try These Variations?
These creative takes on the classic Mounds Bars recipe offer something for everyone, whether you love the crunch of almonds, the creaminess of white chocolate, or the convenience of a no-bake pan dessert. Let your imagination guide you and enjoy experimenting with these fun, delicious ideas!
Troubleshooting and Tips for Perfect Homemade Mounds Bars
Even with a simple recipe like Homemade Mounds Bars, a few common challenges can arise. Don’t worry—here are solutions and tips to ensure your candy bars turn out perfectly every time.
Common Mistakes to Avoid
1. Chocolate Not Melting Properly
- Problem: Chocolate can seize or burn if overheated or if moisture gets into it.
- Solution:
- Melt chocolate in short, 30-second intervals in the microwave, stirring after each interval.
- Alternatively, use a double boiler to gently heat the chocolate.
- Avoid letting water or steam touch the chocolate as it can cause seizing.
For more in-depth tips on handling chocolate, check out these expert chocolate melting tips.
2. Bars Losing Shape During Dipping
- Problem: The coconut bars fall apart or crumble when dipped into the melted chocolate.
- Solution:
- Ensure the bars are well-chilled by freezing them for 15–20 minutes before dipping.
- Handle bars gently and use a fork or dipping tool for better control.
Pro Tips for Success
1. Use Parchment or Wax Paper
- Line your baking sheet with parchment or wax paper to make cleanup easier and prevent the bars from sticking.
2. Freeze vs. Refrigerate
- Freezing: Helps the bars hold their shape during dipping and ensures a firm texture.
- Refrigerating: Ideal for setting the chocolate coating quickly and evenly. Chill for 10–15 minutes after coating for best results.
By following these simple tips, you can avoid common pitfalls and create candy bars that look and taste like they came straight from a professional kitchen!
FAQs
When making Homemade Mounds Bars, you might have a few questions. Here are answers to some common ones to help you achieve perfect results.
1. What’s the Difference Between Mounds and Almond Joy?
- Mounds Bars are made with dark chocolate and have a simple coconut filling.
- Almond Joy Bars are similar but feature milk chocolate and a whole almond on top of the coconut layer for added crunch.
If you’re a fan of Almond Joy, check out the variation in our recipe to make this version at home!
2. Can I Use Unsweetened Coconut?
Yes, you can substitute unsweetened shredded coconut if you prefer less sweetness. However, the mixture may be drier.
- Solution: Add a small amount of extra sweetened condensed milk until the mixture binds properly.
For tips on working with alternative ingredients, explore this vegan condensed milk guide.
3. How Do I Store Homemade Mounds Bars?
- Room temperature: Store in an airtight container for up to 5 days.
- Refrigeration: Extend shelf life to 2 weeks by keeping them in the fridge.
- Freezing: Wrap individually and freeze for up to 3 months.
4. Can I Make These Bars Vegan or Gluten-Free?
Absolutely!
- Use dairy-free condensed milk and vegan chocolate for a vegan version.
- Ensure all ingredients are certified gluten-free for a gluten-free treat.
These adjustments make your bars suitable for everyone while preserving their delicious flavor!
Conclusion
Making Homemade Mounds Bars is not only simple but also a rewarding way to enjoy a classic treat with fresh, customizable ingredients. With just three basic components—shredded coconut, sweetened condensed milk, and chocolate—you can recreate these beloved candy bars in your own kitchen.
This recipe is perfect for those seeking a quick dessert, a healthier alternative to store-bought options, or an opportunity to experiment with new flavors. From adding almonds to creating white chocolate variations, the possibilities are endless.
So grab your ingredients, unleash your creativity, and enjoy the satisfaction of making these delicious bars from scratch. For more chocolate dessert ideas, explore this easy no-bake collection. Happy cooking!

